Sometimes people say that engineers have a squared mind (intended as: they are not really flexible, because their mind is closed inside a squared box…).
Well, since I’m an engineer, I like to think of methods for making nice squares. So, I tried different ways to square up my quilts, especially when they are big. I share my process here.
When my quilt is finished, I don’t use any marker to define its contour, nor I cut excess material. Both methods are irreversible. On the contrary, I define the edges with masking tape.
My references can be straight lines in the piecing or in the quilting: thanks to them, I line up the ruler (which is transparent, and can be aligned with such references), and the cutting mat just after the ruler (since the ruler length usually is not sufficient), to simulate the position of the edge. Looking at such guide, I will cover excess material with a line of masking tape.
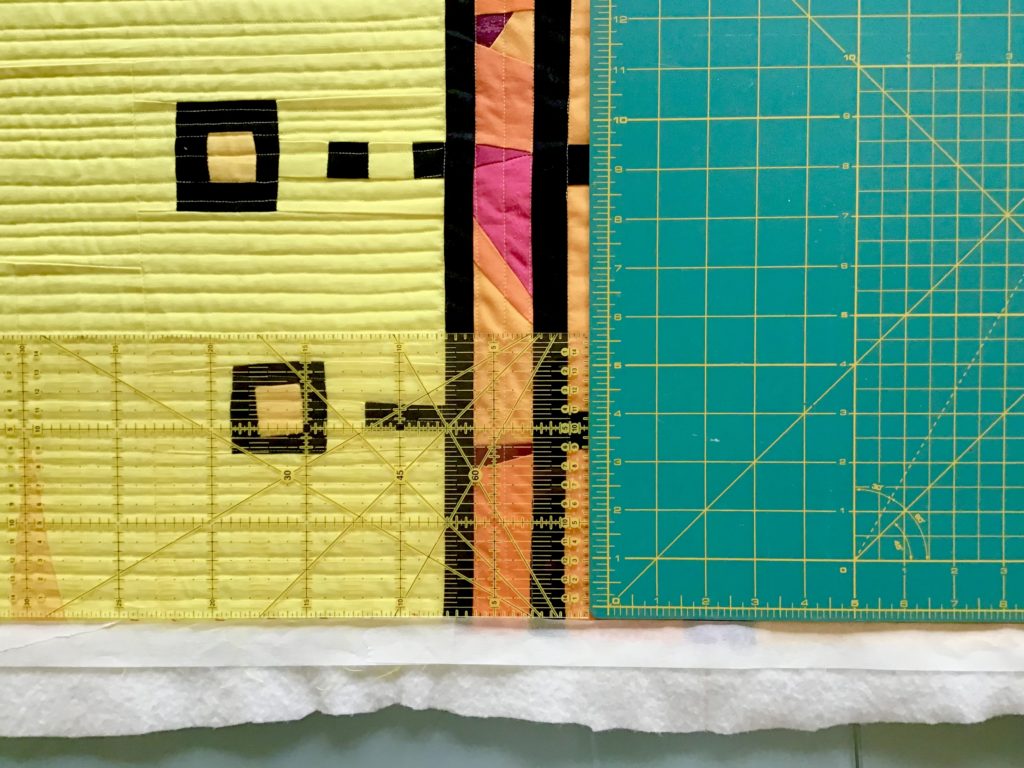
The corner of the cutting mat indicates the 90 degrees angle, so I can proceed in this way for the next side, completing all the four sides.
After having masked all excess material, I can look at the simulated quilt contour, and I can adjust it, based on the following needs: do I want to exclude or to include some other peripheral elements of the picture? Are the opposite sides really parallel to each other? To check parallelism, I measure the length of opposite sides. Usually corrections up to one inch are still needed in this phase… and I appreciate having the possibility to change my masking tape position.
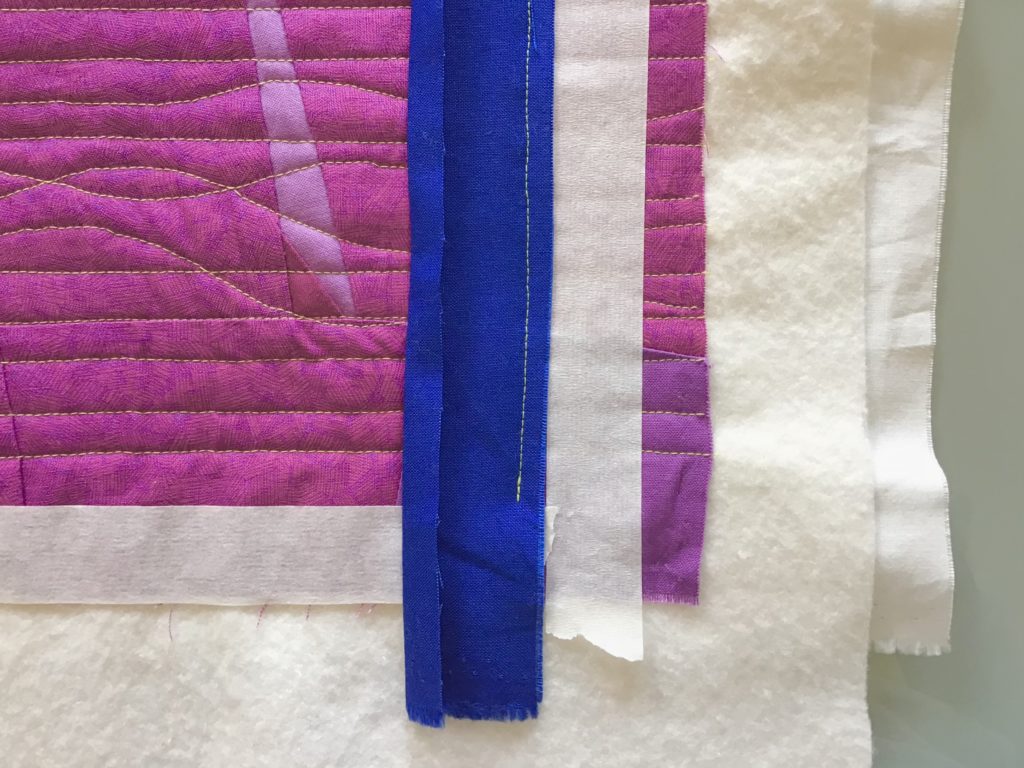
When I’m satisfied of the contour placement, I start the facing procedure.
I love Audrey’s tutorial on cottonandbourbon web site: from the first time I’ve tried it, I’ve never left it anymore. Still, I apply it, but with a small difference: I don’t cut the excess fabric before starting the facing. I think it’s better to sew on a wide, flat area (all material of same thickness still existing on both sides of the walking foot), rather than sewing quite near to an edge (which creates a step). So, I first complete all the machine sewing operations on each couple of parallel sides (up to step 8, and later, up to step 10 of Audrey’s tutorial). Then, I cut and press.
Final hand sewing of such a clear quilt back becomes a piece of cake!