Sewing a stream

improv process

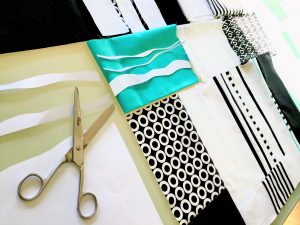
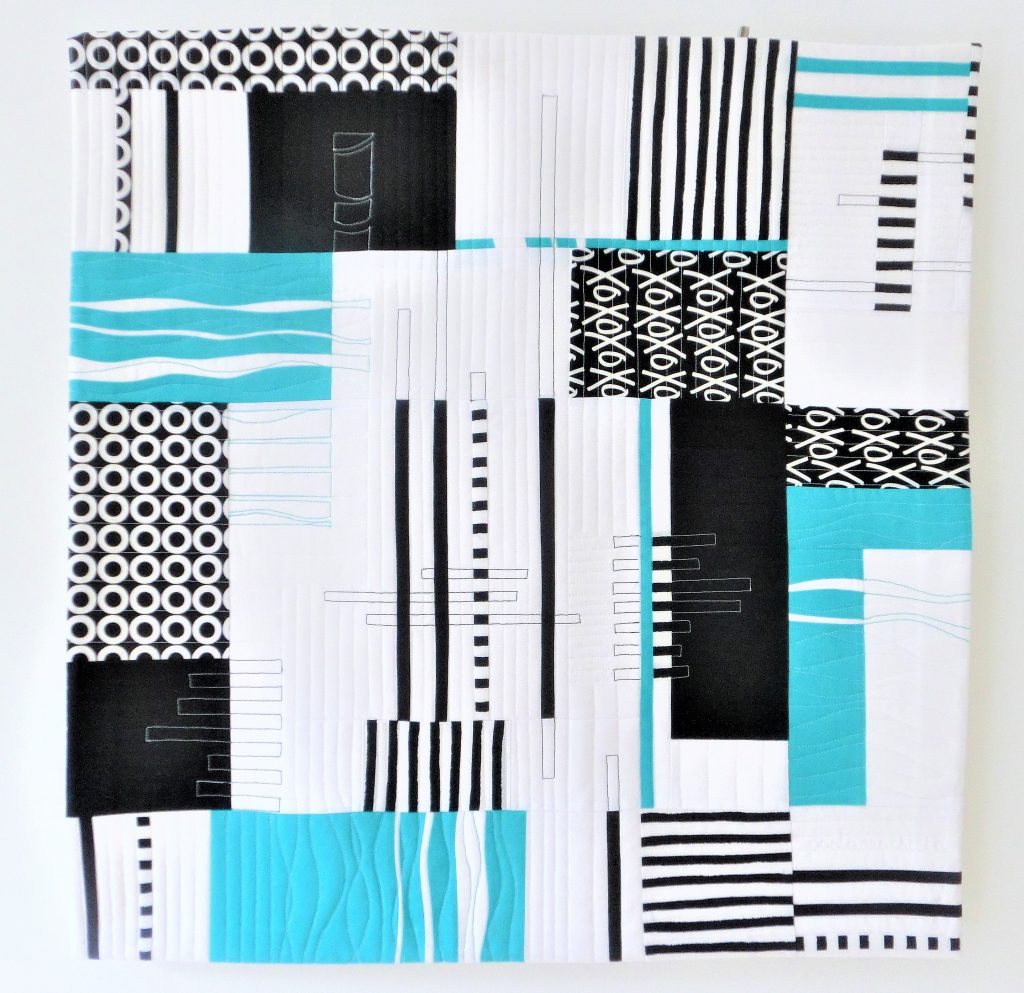
I’ve attended an on-line quilting workshop with Brenda Gael Smith, on the composition of abstract works inspired from images of our real life. It was already since the first paper-cutting exercise, that my mind started to travel along the theme of water courses. River-like mark-making appeared plenty of times on my resulting mini quilt. Thus, I gave it the title “Stream”.
I explored many rivers along the northern part of Italy, and I collected plenty of stories.

This is the story that I feel being connected with my quilt.
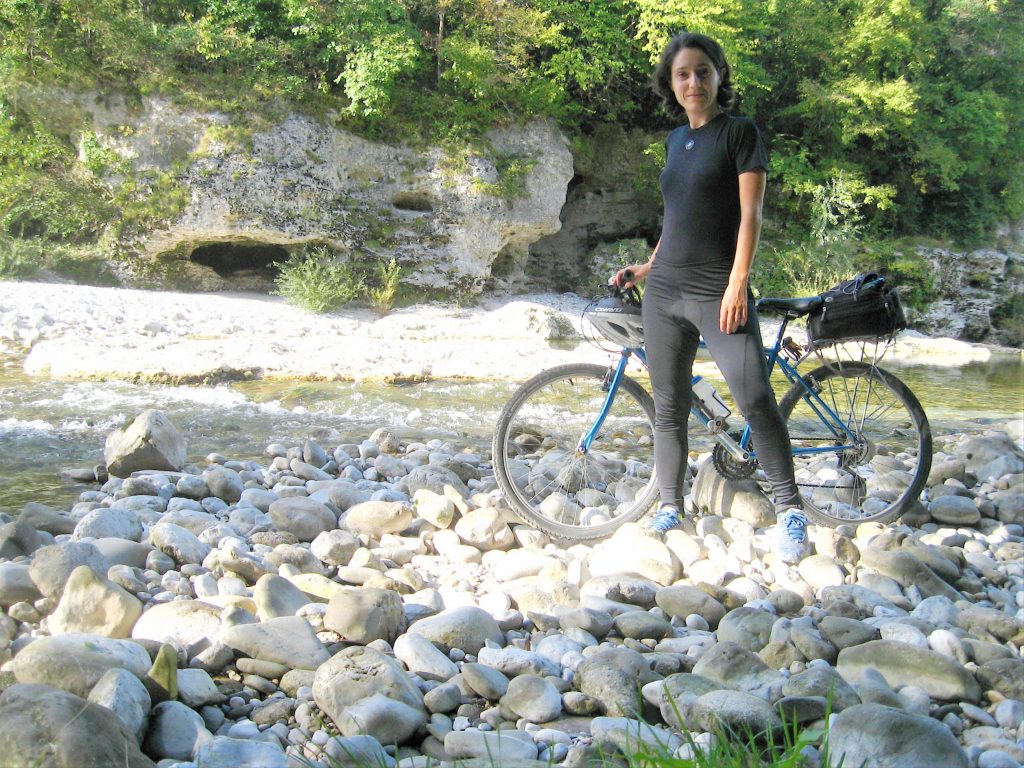
Last Sunday I spent all day touring by bike. I took the train, I reached the town of Cormons, and I routed to the town of San Pietro al Natisone, where a chestnuts fair was in planning.
I had lunch at midway, in Cividale.
After some tea and some rest, I was ready to push the pedal again.

In the afternoon I had to study my map.
The street I expected to use was blocked, due to a local motorbike race.
I tried to reach the limit point, hoping for the race to be finished, but they told me: “motorbikes will continue all day long”.

My route was crossing an area impossible to reach… I was tempted to show my anger to the policeman.
But I managed to keep quiet.
It had to be possible to find another way.

So, I started to explore the surroundings.
There was a tiny lane, just behind the house, that seemed to head for a backyard…
A small wooden signal appeared: “To Purgesimo, 1 mile”.
Great: this was my direction.
Dear cars, if the street is forbidden for you to pass, this doesn’t mean that for us, bike runners, there are no alternatives!

The most beautiful part of my tour started there.
A red pathway between the fields. The beauty of the river, along the side. A sunny sky with yummy clouds.
I spotted a layer of acorns under my wheels; some purple flowers of the specie “aster dumosus”; the dotted decoration on the body of a fleeting snake; two white horses running in the wood, and the sound of water stream audible only by me, cycling alone. Plenty of fruit types where shown at the chestnut fair. I headed back home, with four different chestnut packs, ready for a tasting exercise.

Tips to square a quilt

improv process, techniques

Sometimes people say that engineers have a squared mind (intended as: they are not really flexible, because their mind is closed inside a squared box…).

Well, since I’m an engineer, I like to think of methods for making nice squares. So, I tried different ways to square up my quilts, especially when they are big. I share my process here.

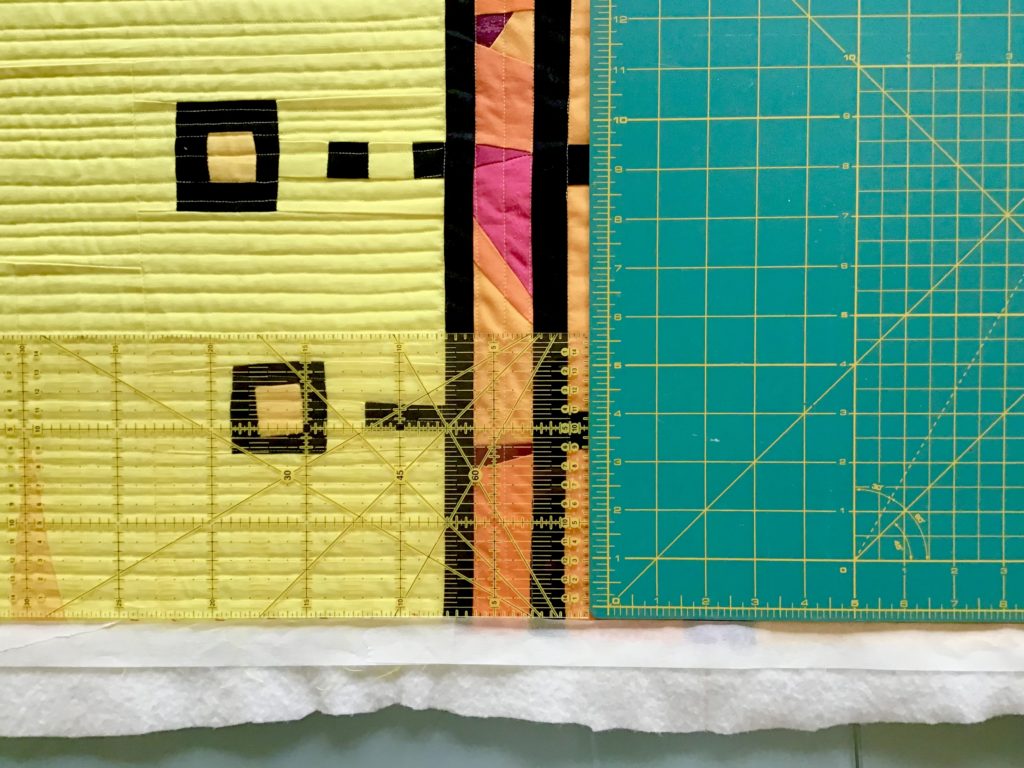
When my quilt is finished, I don’t use any marker to define its contour, nor I cut excess material. Both methods are irreversible. On the contrary, I define the edges with masking tape.

My references can be straight lines in the piecing or in the quilting: thanks to them, I line up the ruler (which is transparent, and can be aligned with such references), and the cutting mat just after the ruler (since the ruler length usually is not sufficient), to simulate the position of the edge. Looking at such guide, I will cover excess material with a line of masking tape.

The corner of the cutting mat indicates the 90 degrees angle, so I can proceed in this way for the next side, completing all the four sides.

After having masked all excess material, I can look at the simulated quilt contour, and I can adjust it, based on the following needs: do I want to exclude or to include some other peripheral elements of the picture? Are the opposite sides really parallel to each other?  To check parallelism, I measure the length of opposite sides. Usually corrections up to one inch are still needed in this phase… and I appreciate having the possibility to change my masking tape position.

When I’m satisfied of the contour placement, I start the facing procedure.
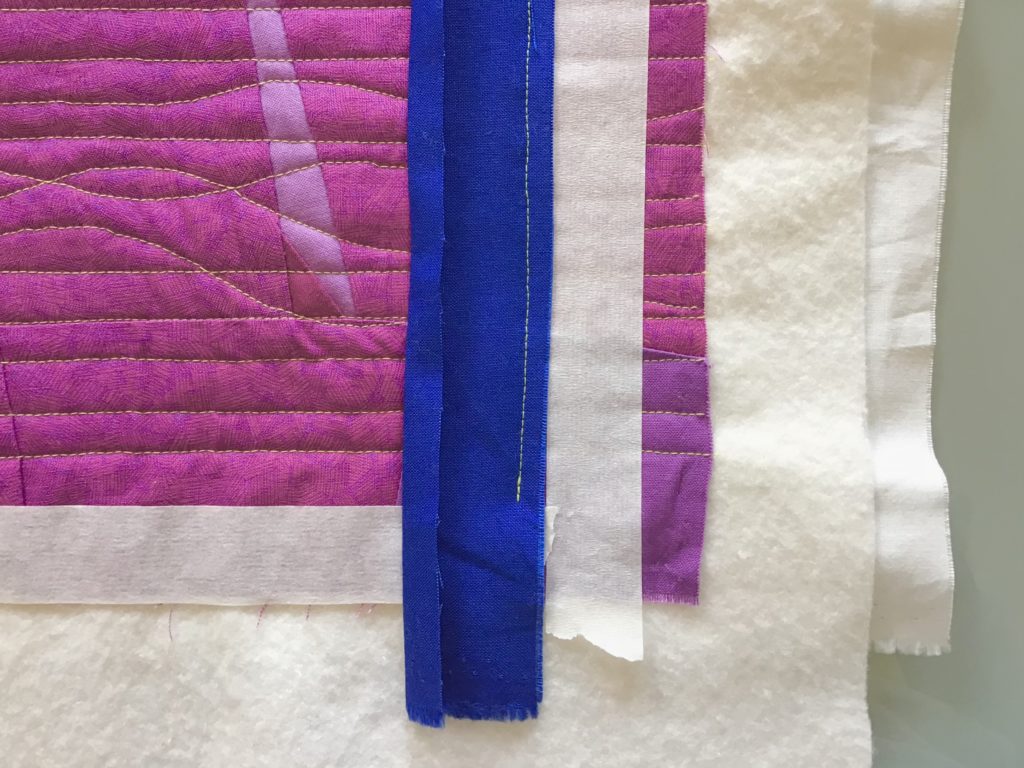
I love Audrey’s tutorial on cottonandbourbon web site: from the first time I’ve tried it, I’ve never left it anymore. Still, I apply it, but with a small difference: I don’t cut the excess fabric before starting the facing. I think it’s better to sew on a wide, flat area (all material of same thickness still existing on both sides of the walking foot), rather than sewing quite near to an edge (which creates a step). So, I first complete all the machine sewing operations on each couple of parallel sides (up to step 8, and later, up to step 10 of Audrey’s tutorial). Then, I cut and press.
Final hand sewing of such a clear quilt back becomes a piece of cake!