Quilts getting air time

techniques

I’ve been asked about the hanging system I use for my quilts on the wall.

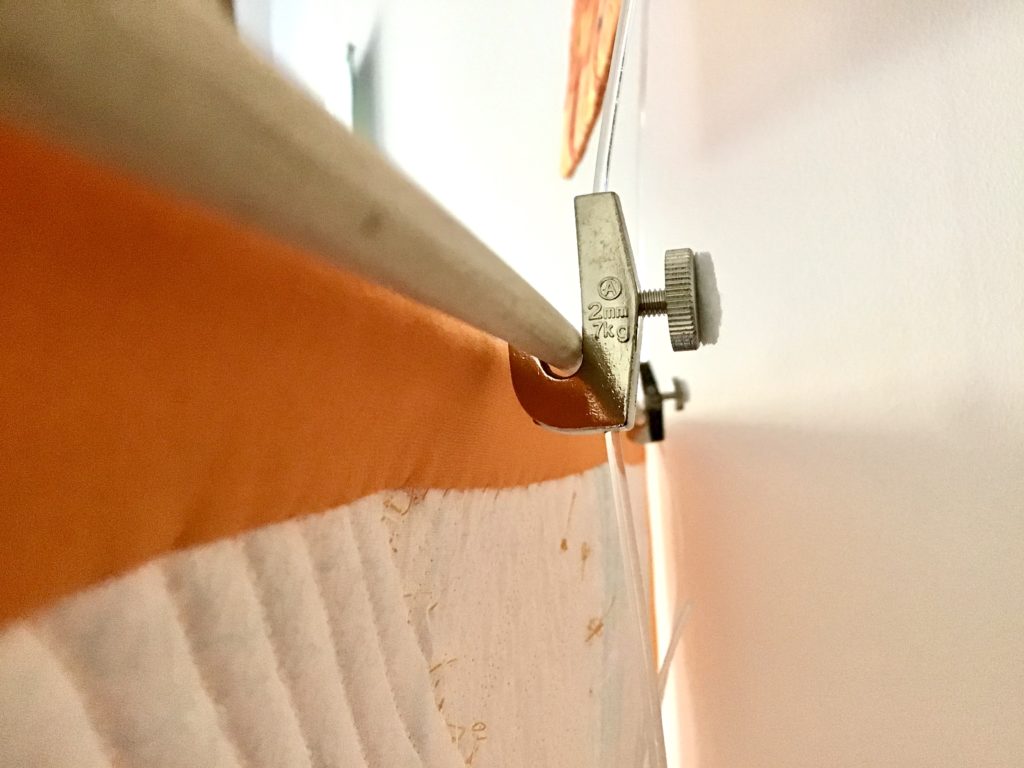
I use a thin rod, made in wood (for small quilts), or made in aluminium (for the bigger ones), which I cut with a hand saw at the desired length.

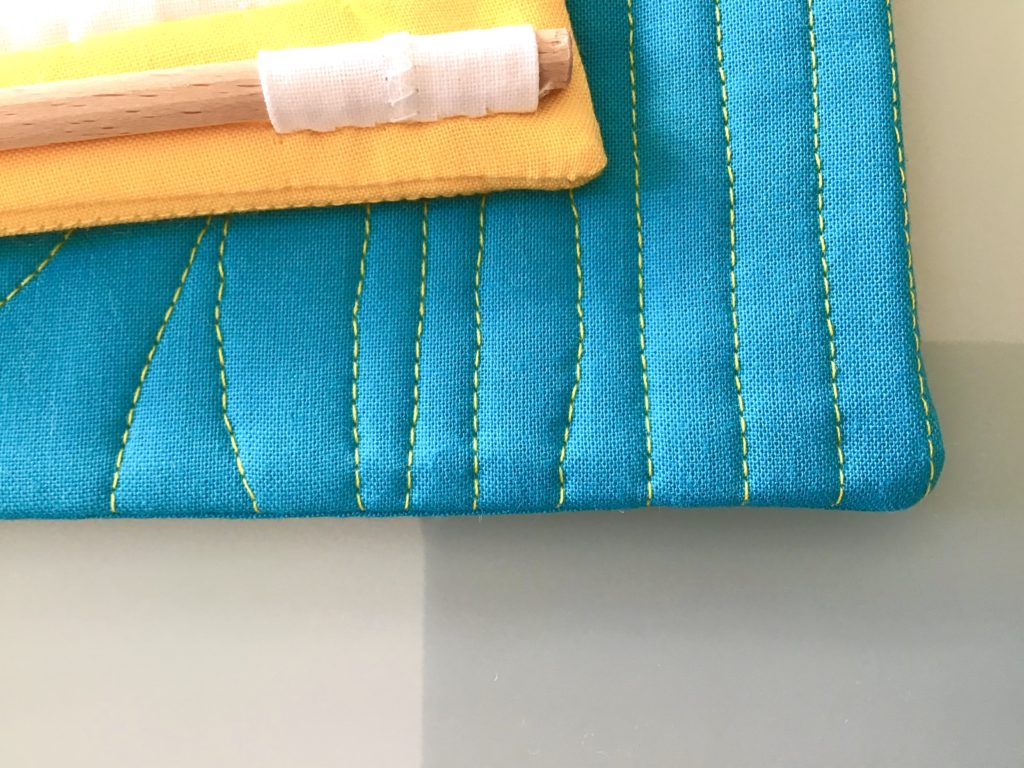
I sew three or more belt loops where the rod will be inserted.
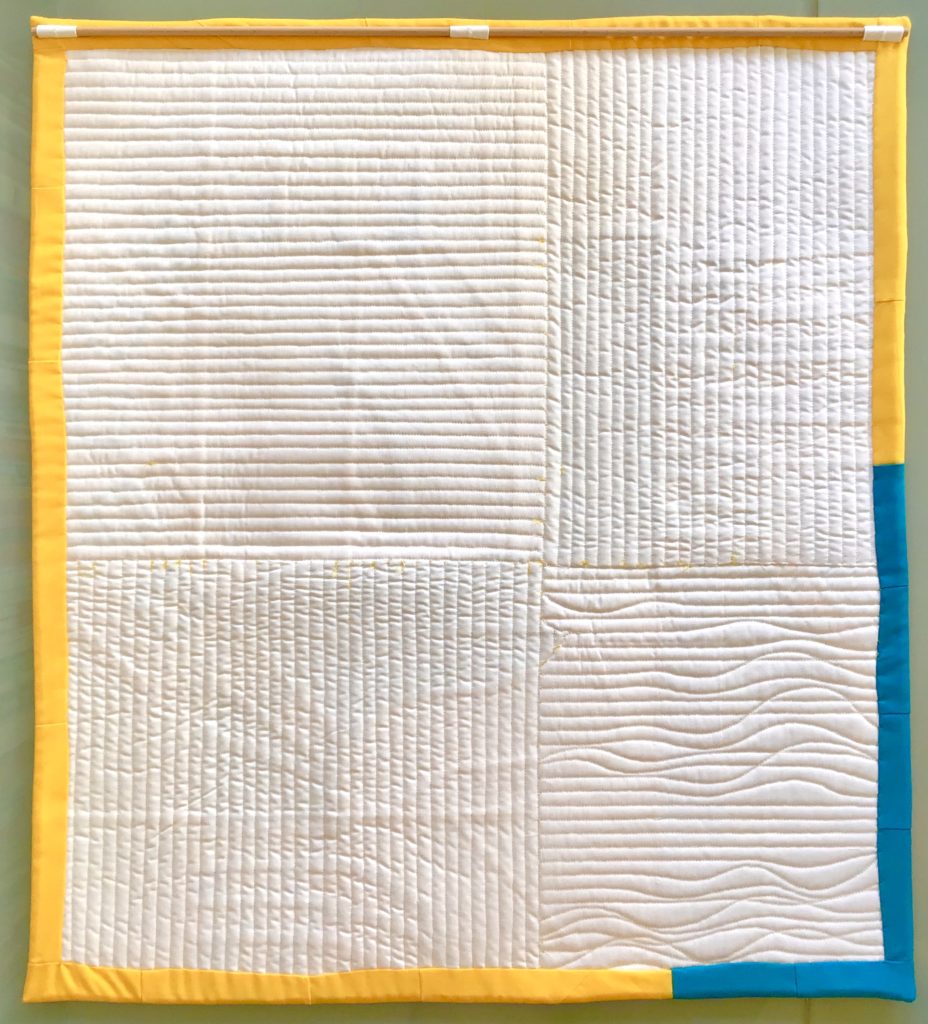
In this way the rod remains accessible and can be easily positioned on nails or hooks.

I’ve equipped my home with a rail system, from which a series of wires can drop down. With this method, the position of the hooks on the wire can be adjusted every time I need a change.  

As soon as I complete a wall quilt, it goes on air in my home.
It’s always difficult to choose which one of the old quilts will be removed, to leave room for a newcomer! Some quilts get replaced after one week. Others become favourite ones, and they keep their position for more than one year…

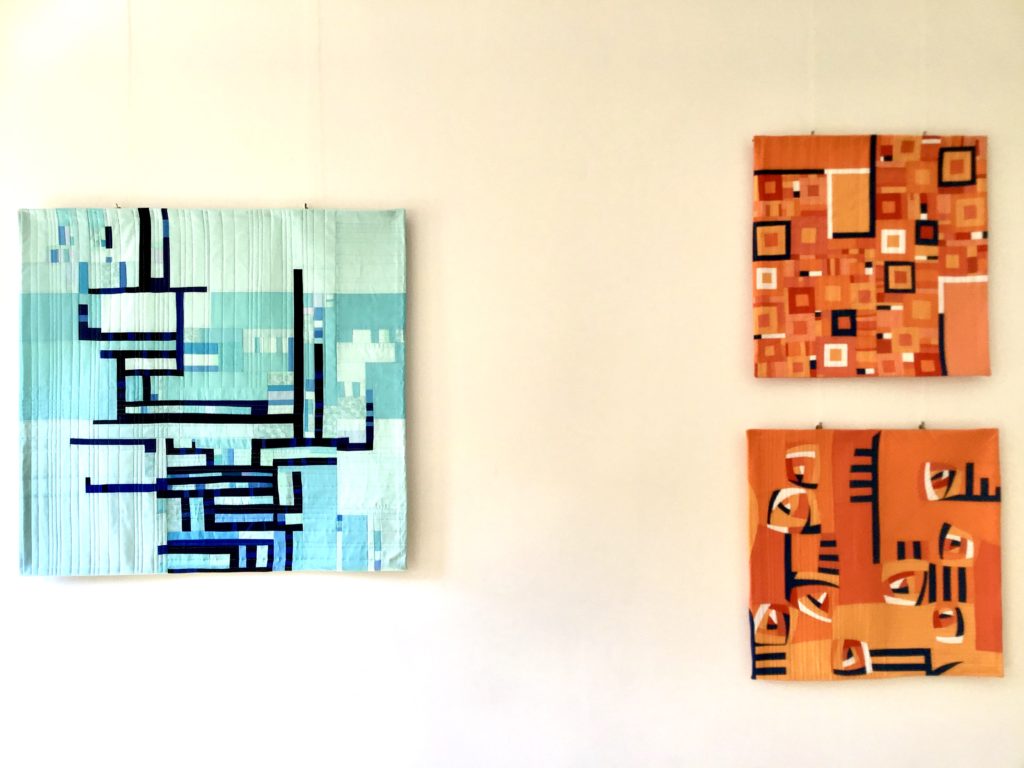
This way, I continuously change the atmosphere in my house. And I even try combinations of quilts. Such as this group, that later became may part of my exhibit Tagliamento, king of rivers. I liked so much the capability of the light blue to complement the rich oranges, that these three quilts entered the gallery exactly in the relative position earlier tried in my living room.
Use all the tiny bits!

improv process, techniques

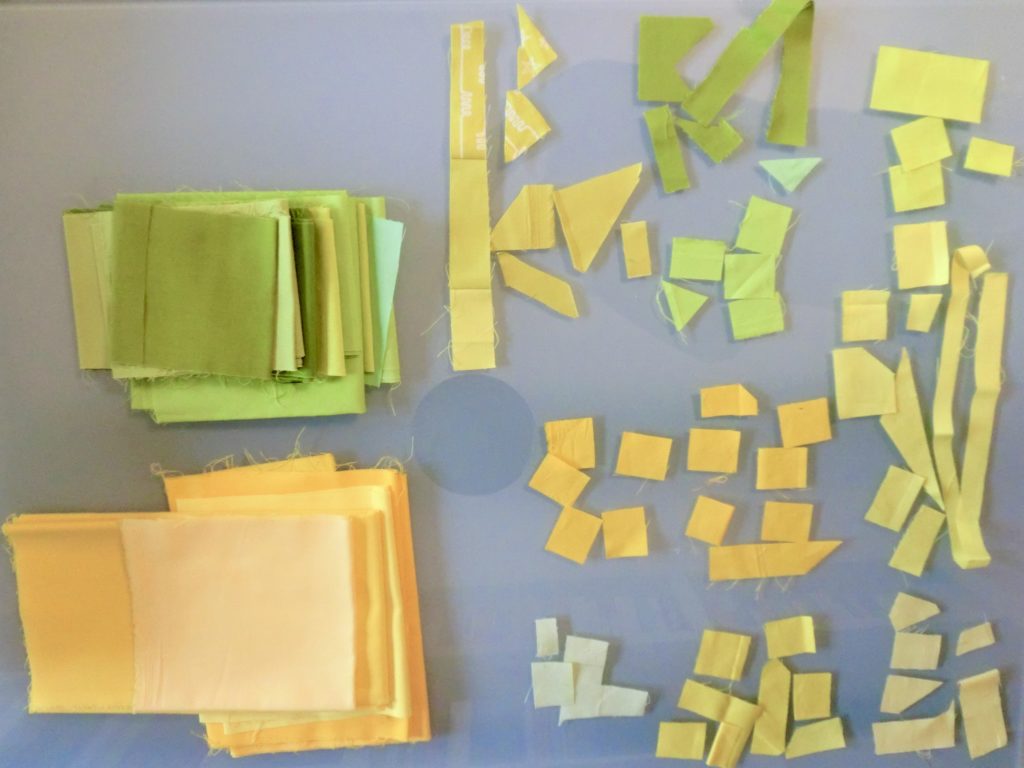
I save all the smallest scraps from my quilting work. Half an inch is enough for me.

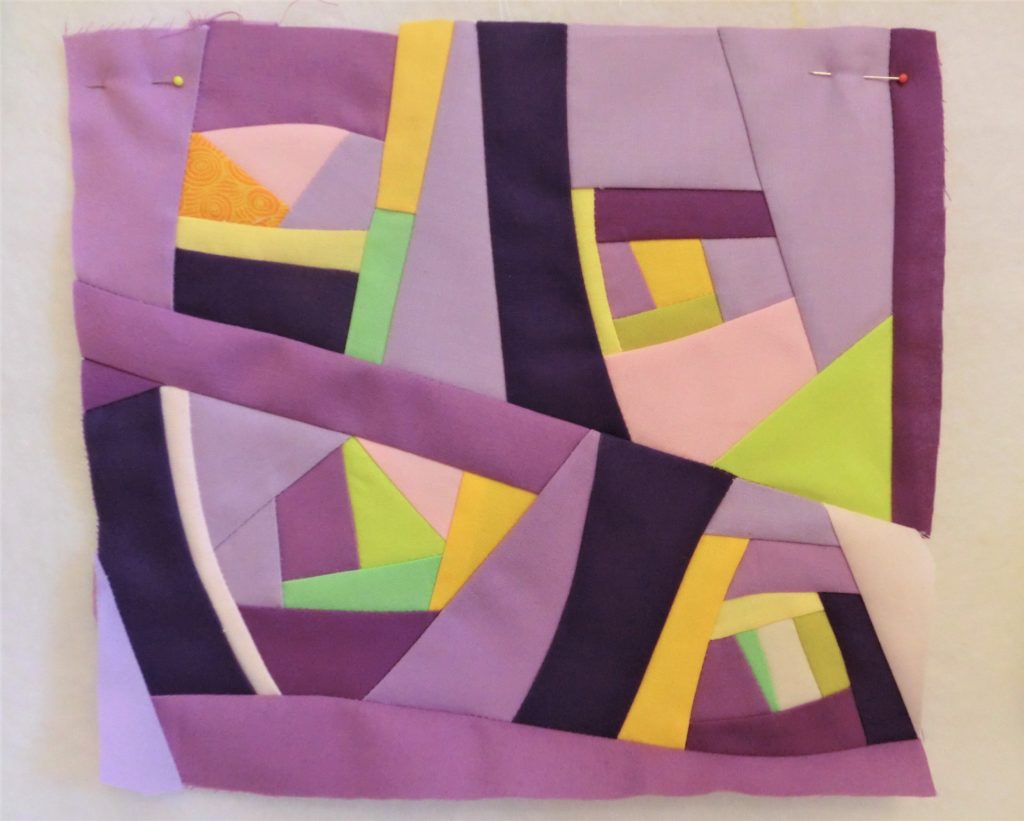
I’ve made sample textures with this starting material: column and row grids, log cabins… In my first video talk about improv I show some of them.

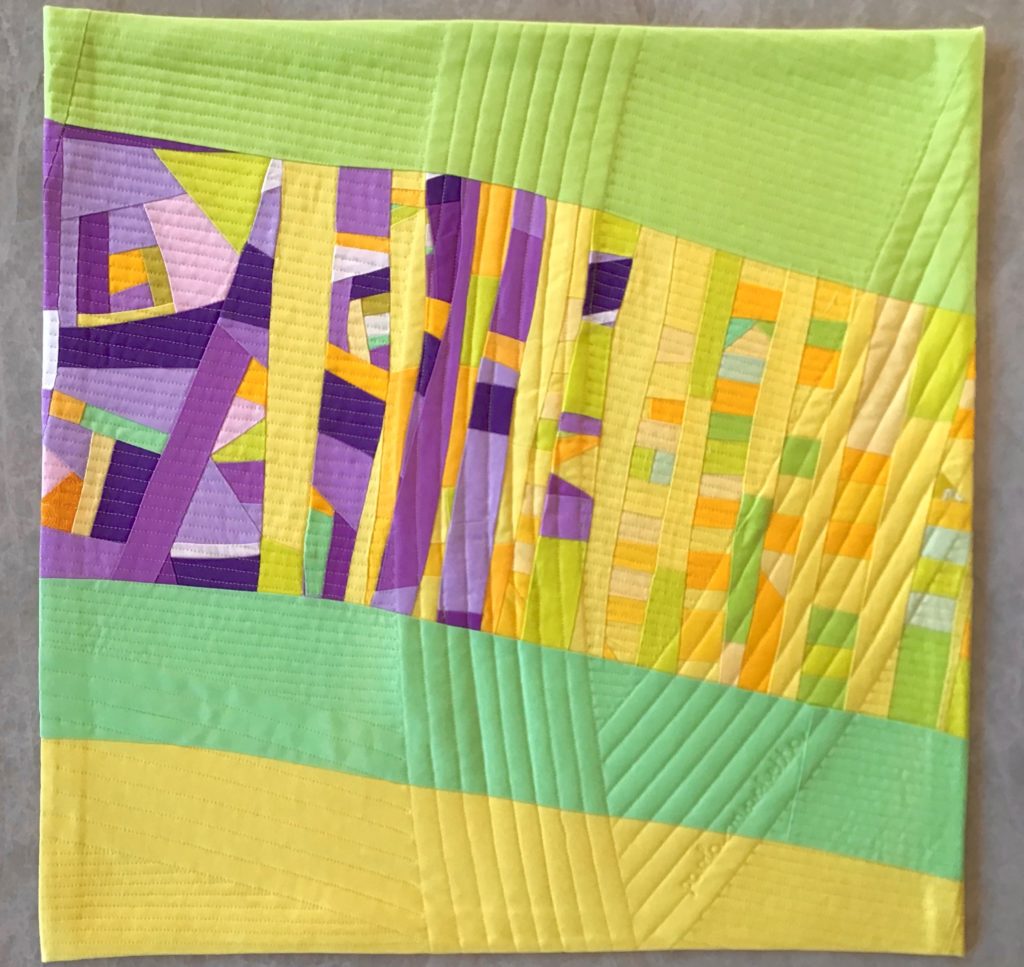
I recently took out this starting material. I noticed that the yellow and the purple patches had some colours in common. Good starting point to join them with a few transition lines!

It was a nice occasion to experiment with walking foot channel quilting, having needle positioned at variable distances.

When I had almost completed my work, I changed my mind: no more landscape rectangular orientation, but rather a square with a twist. It felt like adjusting the composition with a move of the photo camera… a cropping zoom. A good occasion to face fear of cutting an already made work… and to feel it can improve.

Good that mini quilts are completed in short time. I gave it the title “transition”: like the two starting blocks that blended, in a transition from purple to yellow with different piecing shape.

Connected crafts

techniques

I have been drawing for several years, during my life.

My first sketchbook daily practice dates back to Primary school. Maybe I still have it, somewhere.

I’ve practiced several creative techniques during last decades: drawing, photography, painting on fabric, stitching, paper marbling, creative microscopy (that one was very addictive!), improv quilting (which added a relevant discovery: of quilting community!).

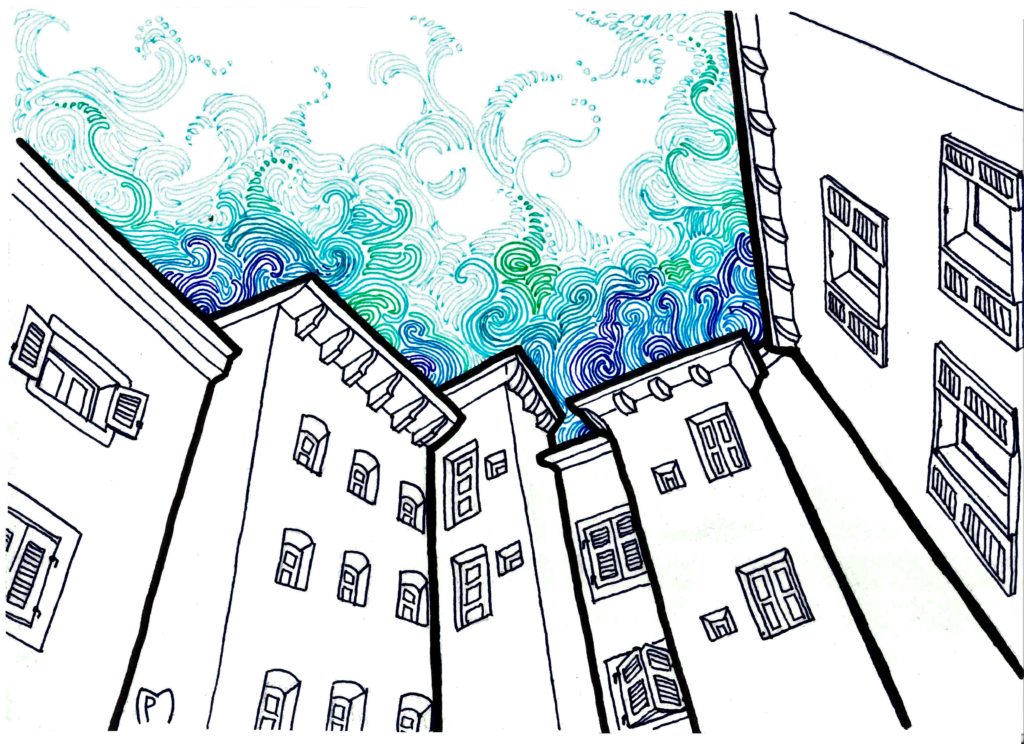
I’ve recently started to draw again, fine-liner pen on cotton paper doodle-type.

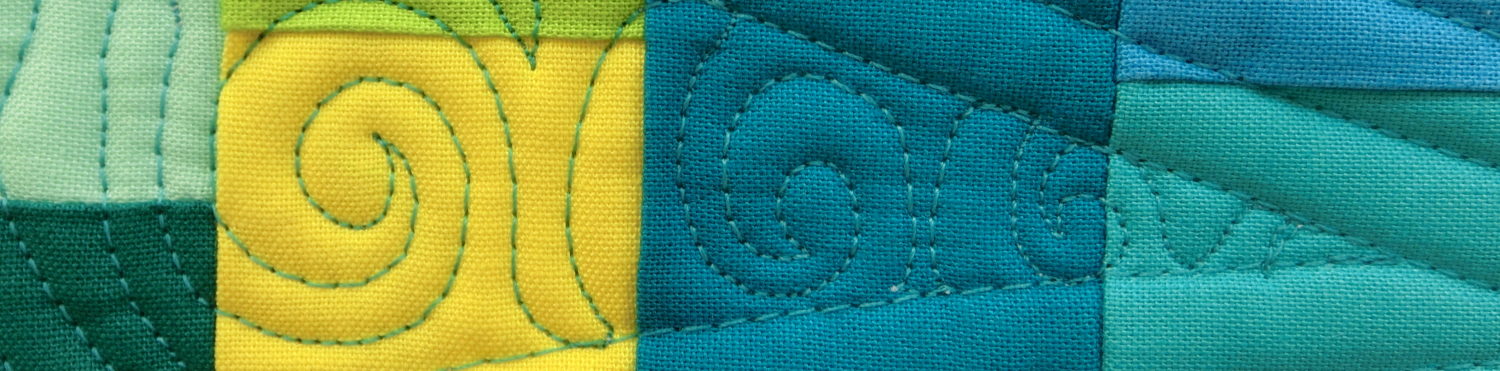
During the last exercise, I was surprised of how easily some spiralled clouds emerged from my blue pen ink work. Then, I realized: it was thanks to the long hours of free-motion quilting practice done while using that same motif: quilting spirals, indeed.   

The different crafting techniques one tries are connected to each other in some ways.

My photos of flowers were usually made in macro mode, so close-up that they tended to be abstract, and I tiled them in columns and rows like in a mosaic.

My first three quilts were aimed to represent a landscape; then I dropped that idea, and I continued mainly with abstract improv piecing.

My drawing re-start intent was to play with doodles and geometries, but it quickly turned into figurative subjects derived from my year-long database of photographs.

There is still a lot of room to learn, from this re-mix of techniques!