On the making of an image

improv process

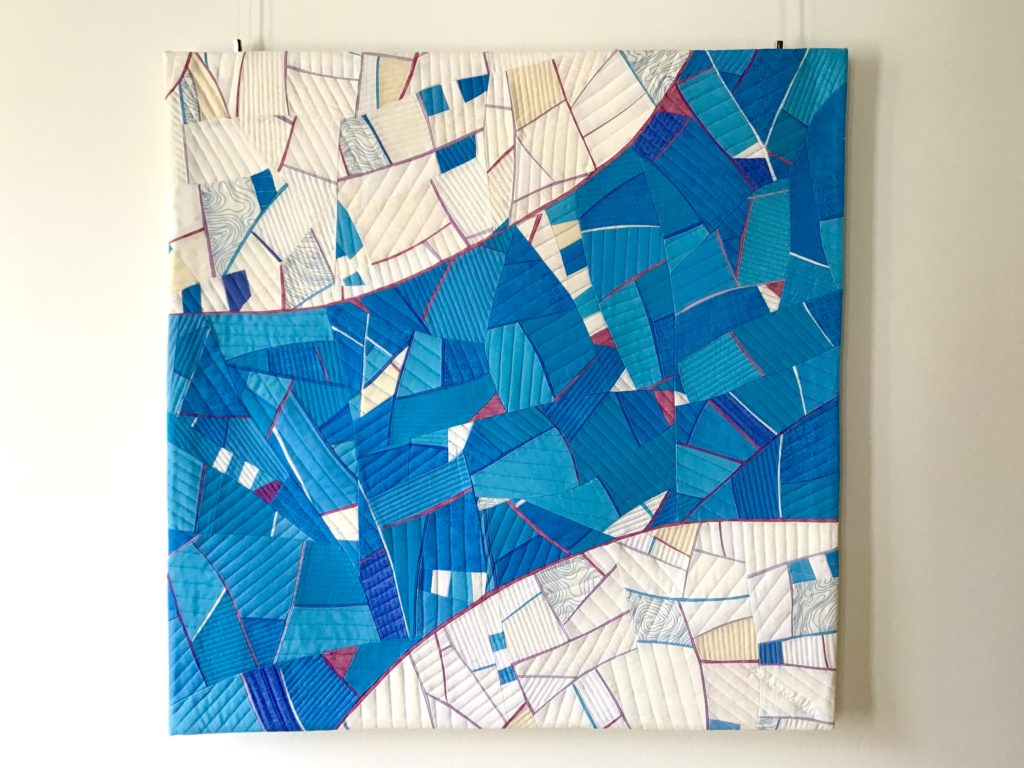
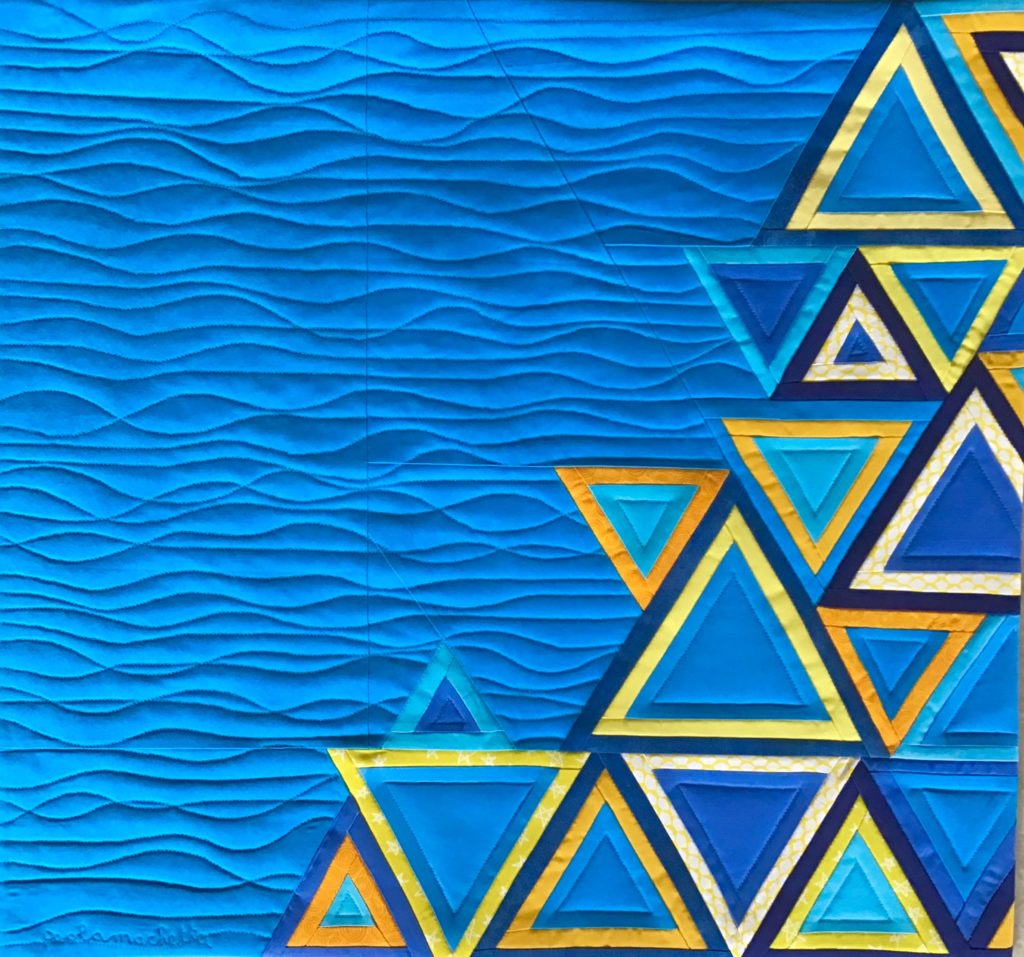
It was for several days, that a blue sky quilt idea was floating in my mind.
I resisted for all those days to the temptation to start it, because I was in the middle of other projects. A completely different color occupied my sewing table, the supersaturated red of my monochrome quilt, still to be finished.
I managed to work according to my real preference: one quilt at a time.

Then, my quilting table became free.
I started.
And I submerged for a full weekend on my new blue project, without breathing fresh air for hours.
It fullly captured me.
So strong was the effect of full immersion into a stage of new creation, that every other activity in the queue disappeared from my radar.
I even forgot for one full day to send the announcement of the new quilt+painting gallery that was in preparation here in my hometown!
(Well, the gallery announcement has just been launched – read here if you are in north east Italy, and you consider visiting this super special event soon!).

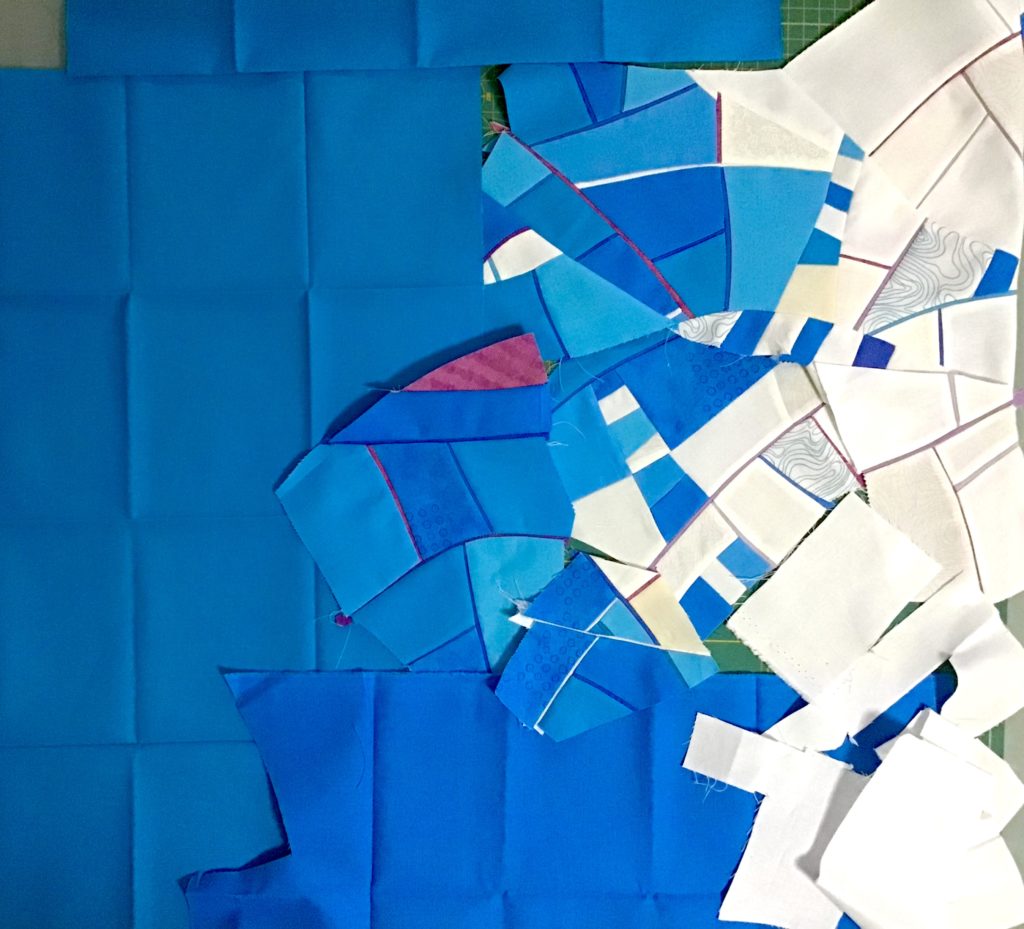
Blue and white fragments continued to get attached to one another on the design wall, when, suddenly, my composition was not working anymore.
Too big.
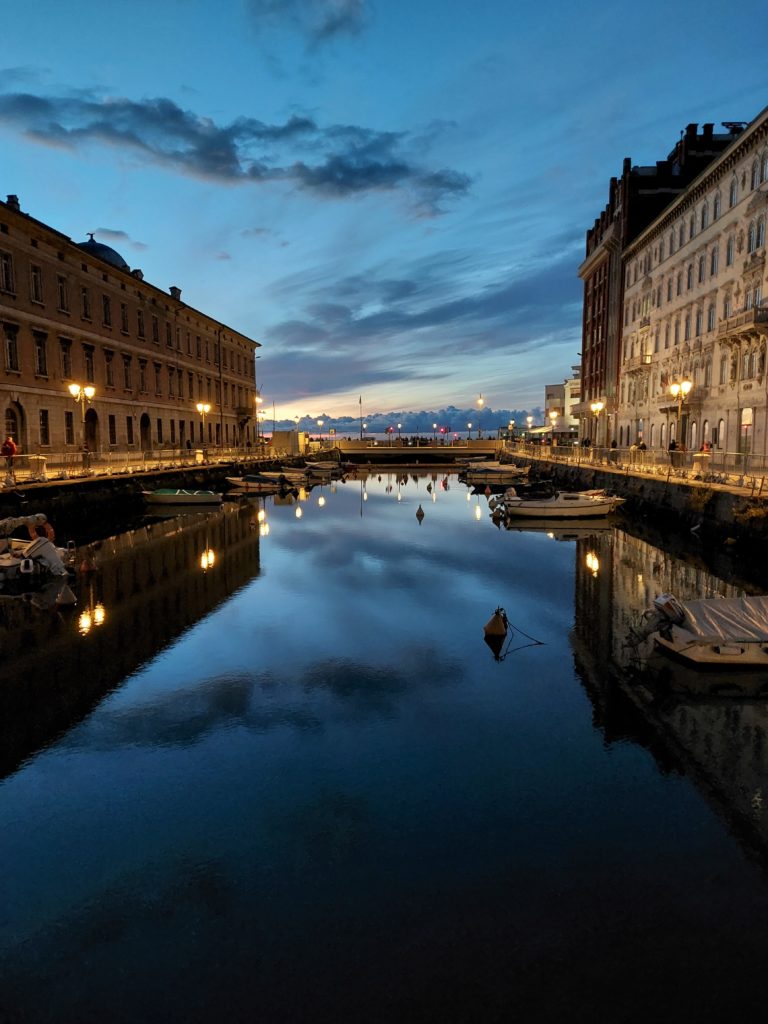
The clouds, inspired to the late summer sky visions stored in my mind, needed to become too large… maybe kilometers large… like in the real life.
Not working, not working image at all.

The splash on the design wall soon turned out too busy, giant and pixellated.
I remixed, I ripped sections, I abandoned the initial purpose… but there was no way out.
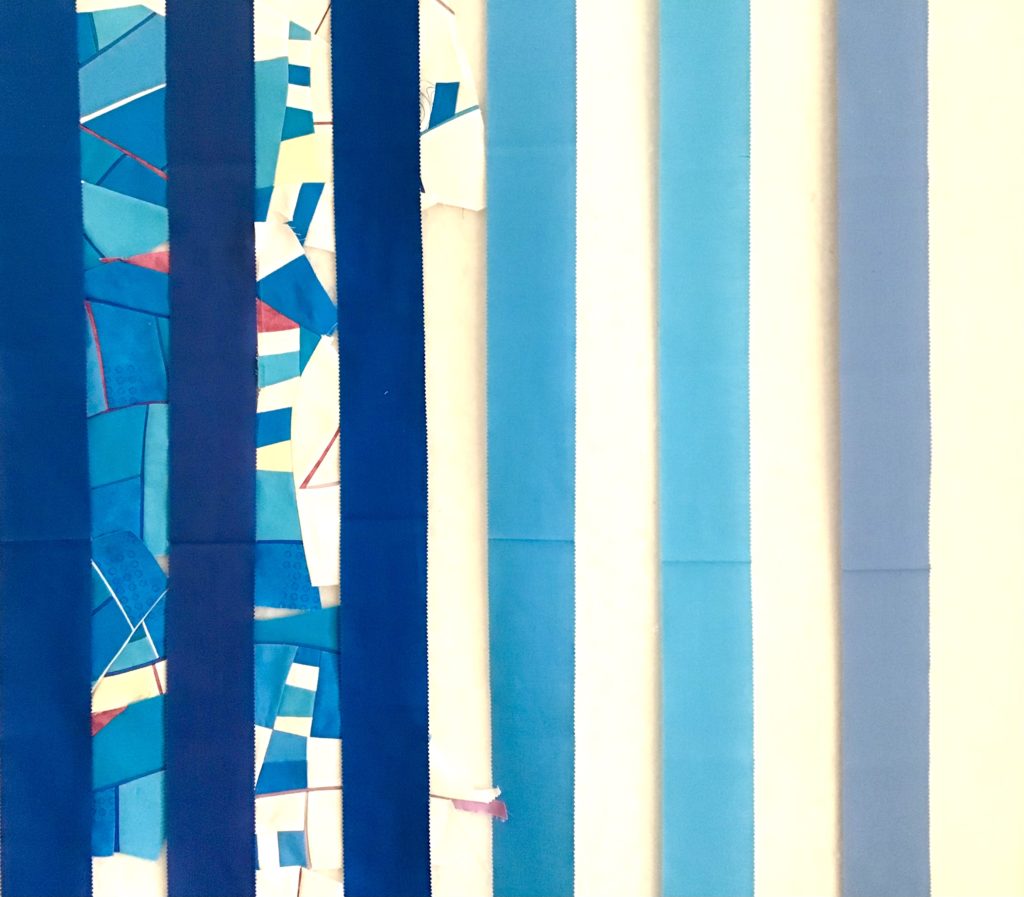
Until, like a casual gesture, I placed my jelly roll blue strips on the design wall. Strips in series, like a color check, like a grid.
And, surprise-surprise… I started to see my work clearly again.
Thanks to the presence of the grid, I suddenly understood what was happening to my work.

— Alert: engineer nerd content below —

I involuntarily created an “interference grid”.
Like the one I used during my optoelectronic engineering studies… when a laser beam passed through a filter, and became transformed into physically meaningful patterns…
This grid acted, indeed, as a filter.
It helped me to extract mosaic cell scale.
To separate portions of the mosaic having different appearances.
It distilled the randomness of my work into some sub-series having a meaning of their own.

Now, I have decided a possible way on: to use only some portions of my work, to simplify it.
The image should become more readable.
Or at least, the idea returned readable for my mind. I see again a number of possible paths for the progression of my work.

I don’t know if the above story is understandable or even interesting as a quiltmaking phase.
But for me it was important.
The rest, still needs to be written…

The meaning of red

improv process

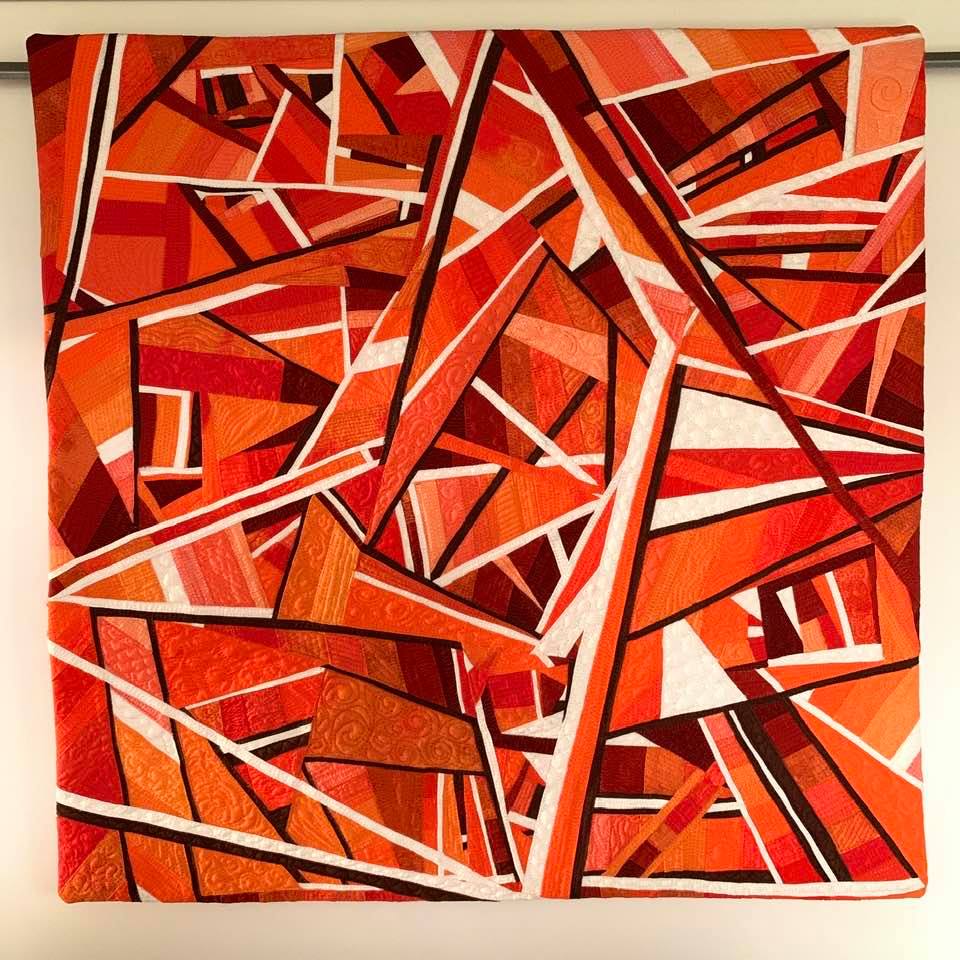
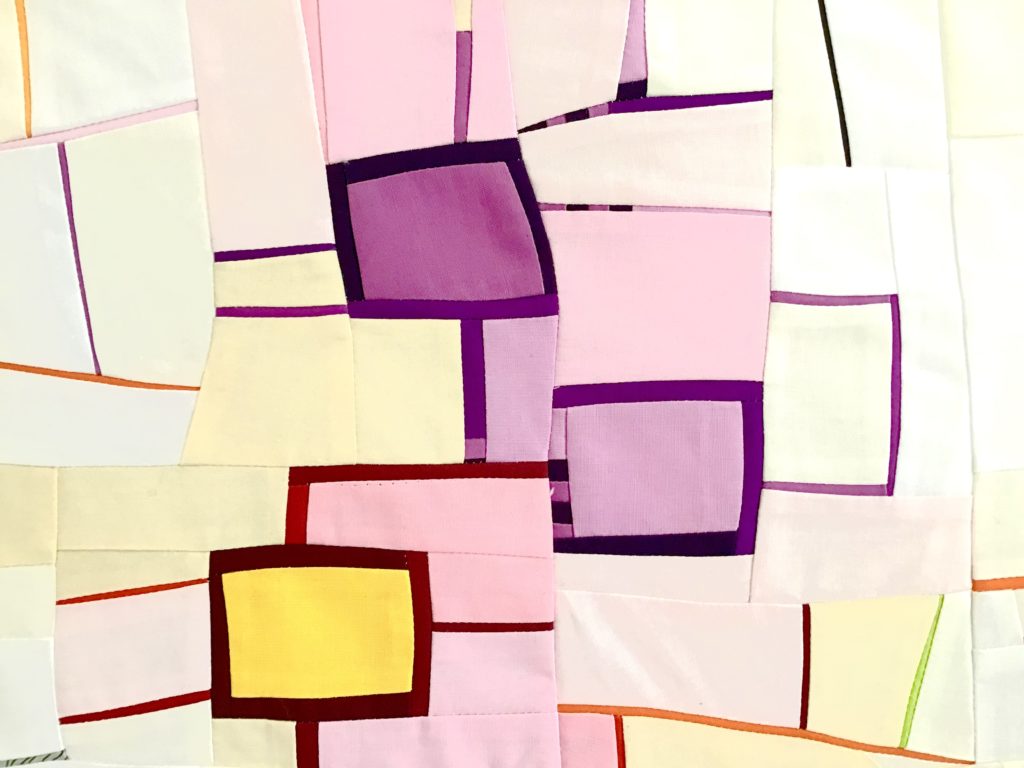
When I started discussing with my quilting friends Carla and Giovanna, about the new game to be proposed as a Quilt Improv Studio challenge, I was reading the book Abstract Art. Carla’s proposal to try quilting a monochromatic work was perfectly fitting with the chapter I was reading then: the history of American Monochrome paintings.

At the time to start my monochrome quilt, I decided to experimented a bit with extremes.
I kept the shapes to a minimum (a good occasion to discover the difficulties of minimalism).
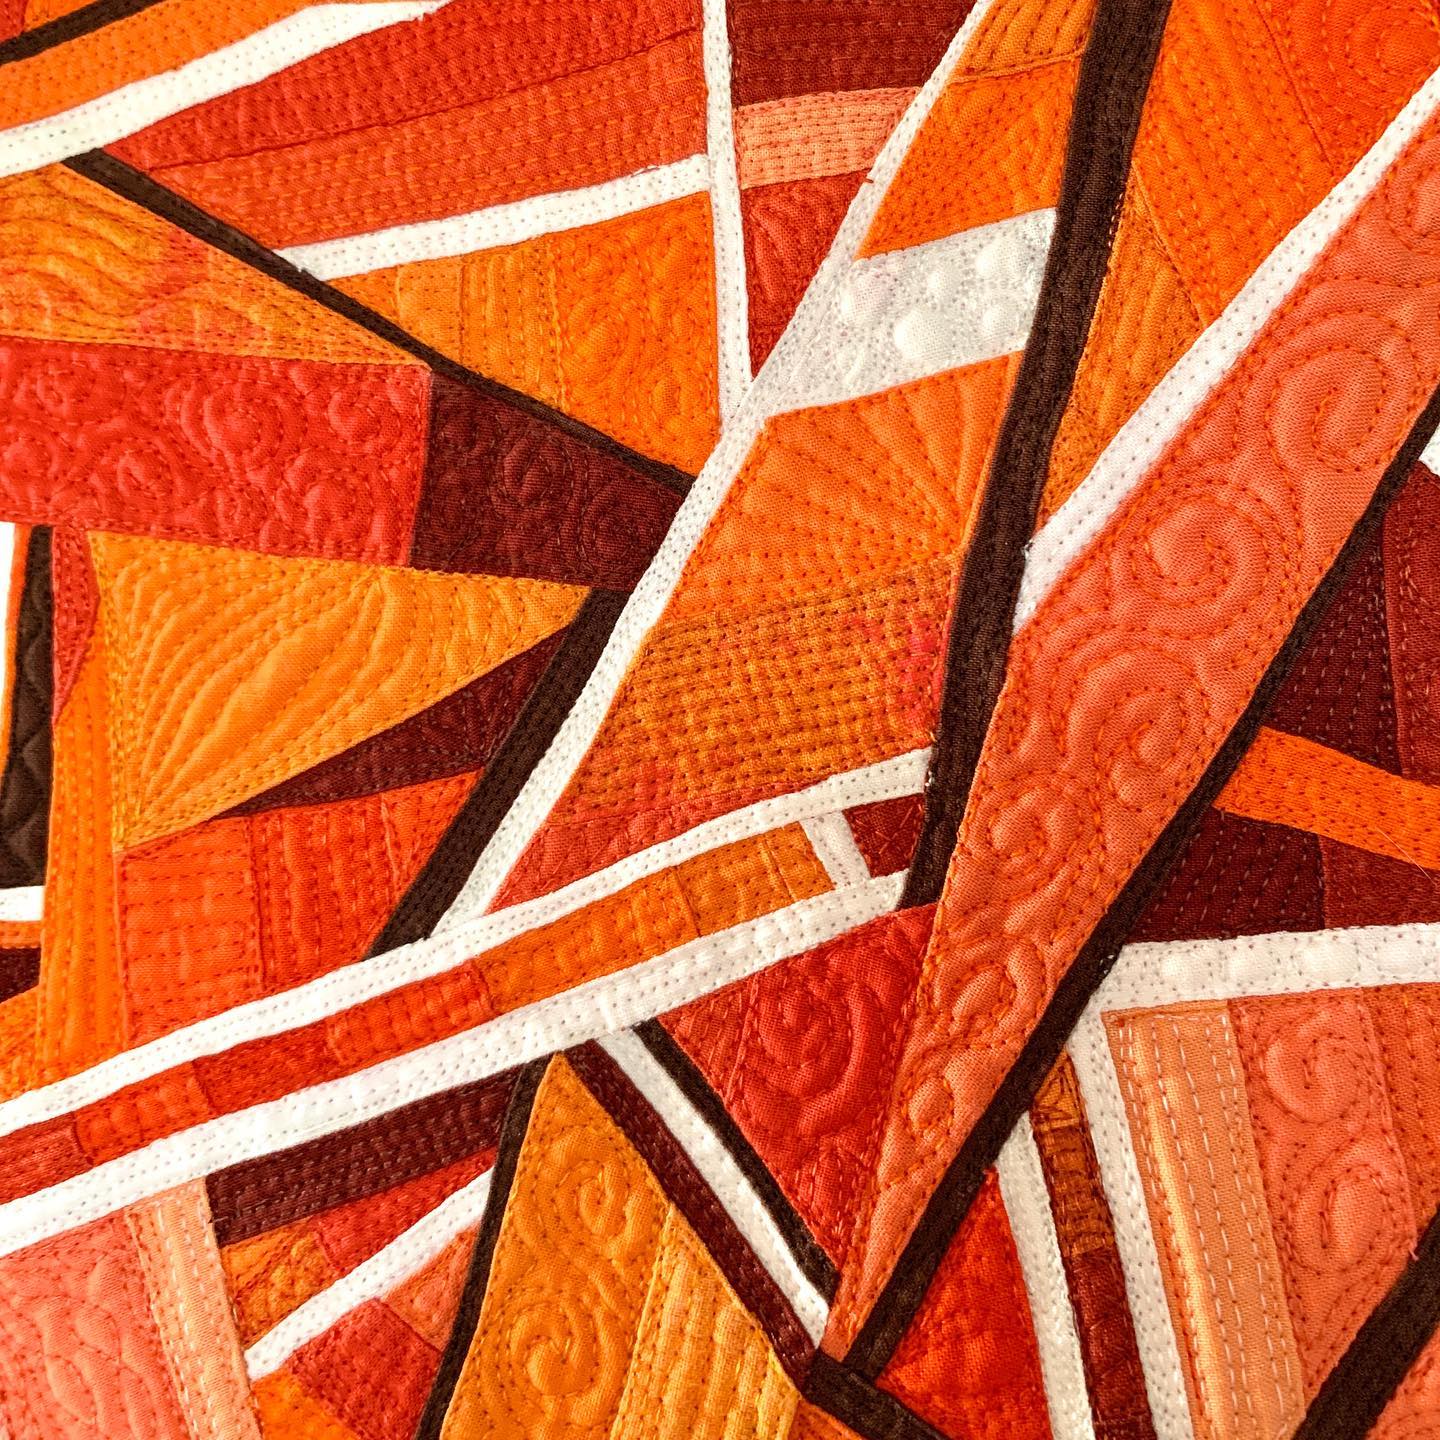
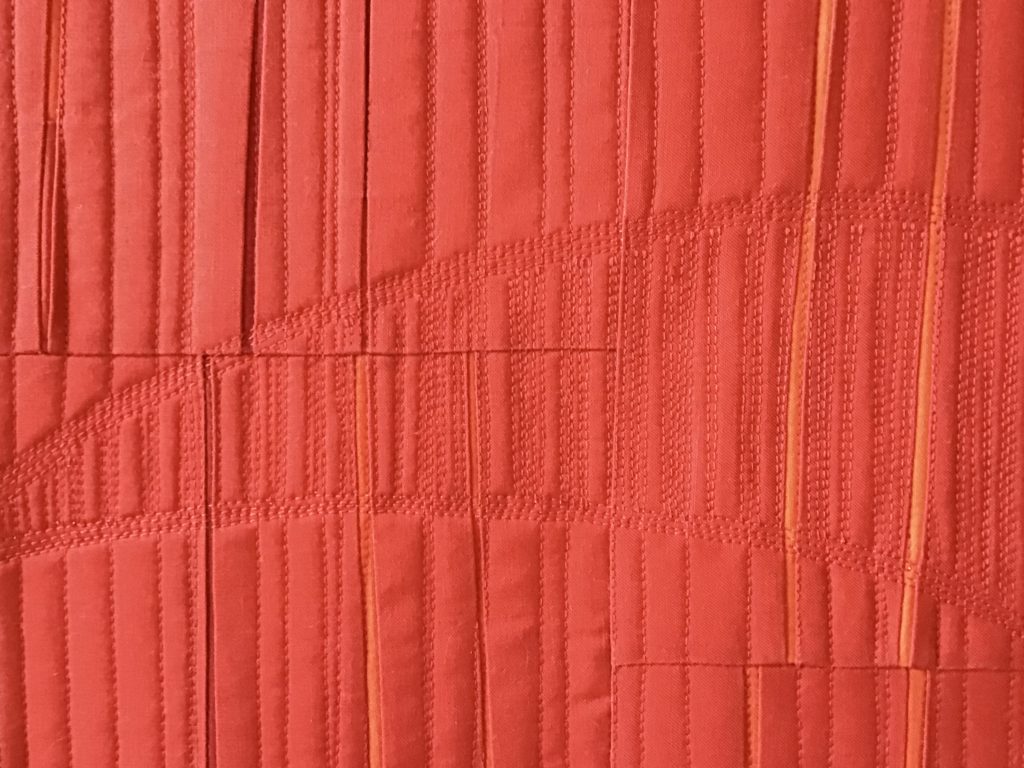
As in the monochromatic painting experiments, I focused on surface texture, quilting red on red, going narrow up to matchstick style.

At a certain point, the differences introduced in my quilt started to be barely visible even for me… and this reminded me of a photo galley I made twenty years ago, participating to a science congress on nanotechnologies, dealing with objects having size sometimes too small for being resolved by visible light.

Well… red is the color at the gate of visible light wavelength.
Thus, I decided that my red quilt had gained grades to be dedicated to all the above.

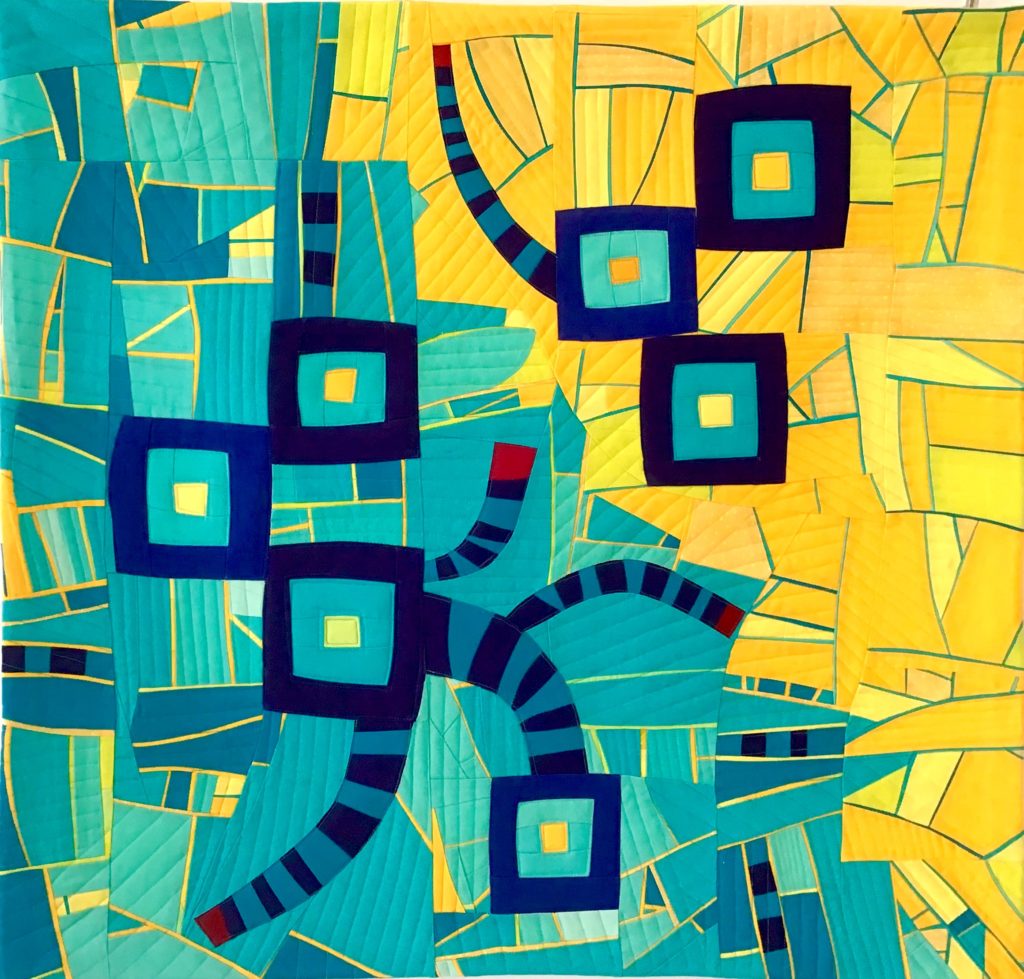
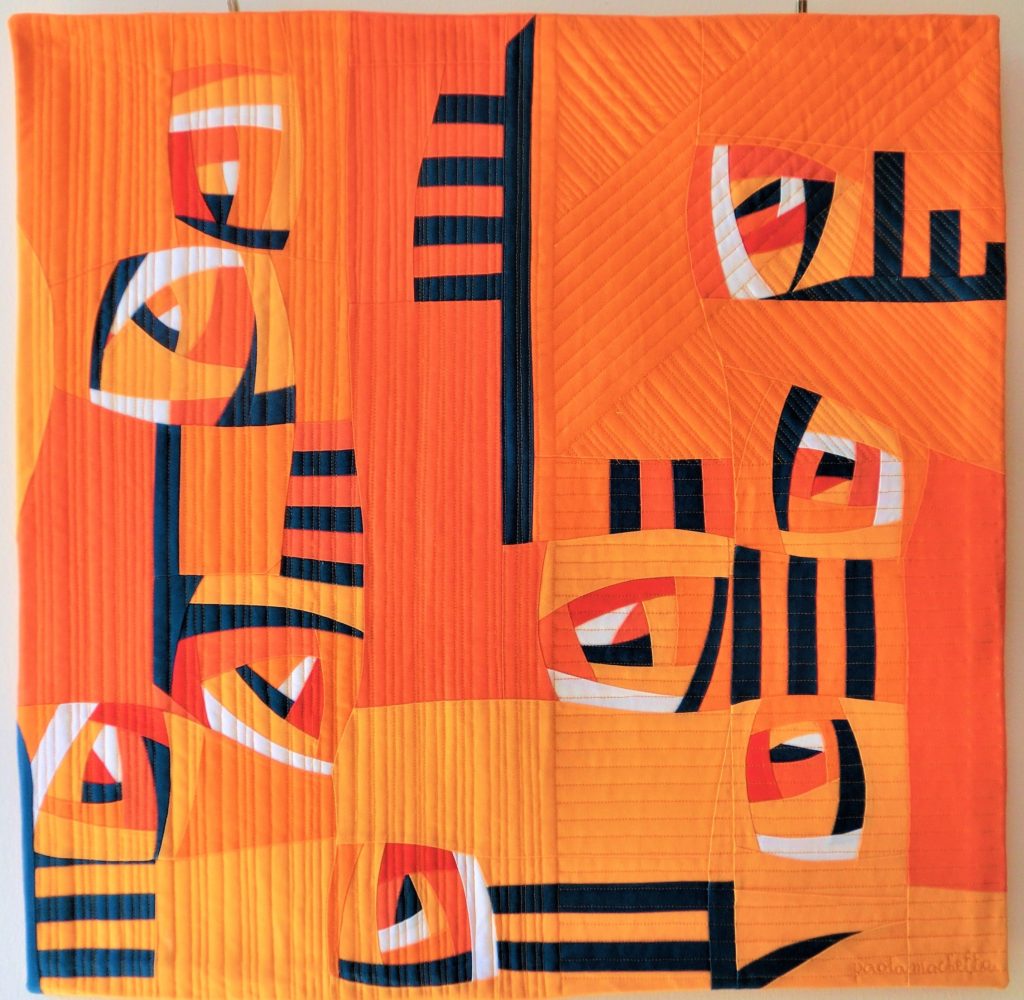
My monochrome quilt is titled “Threshold of the visible”. It makes me think of my experience with microscopy and surface characterization, of the American monochrome texture paintings, and of the wavelength where we start to see red: 740 nanometers!

Sewing a stream

improv process

I’ve attended an on-line quilting workshop with Brenda Gael Smith, on the composition of abstract works inspired from images of our real life. It was already since the first paper-cutting exercise, that my mind started to travel along the theme of water courses. River-like mark-making appeared plenty of times on my resulting mini quilt. Thus, I gave it the title “Stream”.
I explored many rivers along the northern part of Italy, and I collected plenty of stories.

This is the story that I feel being connected with my quilt.

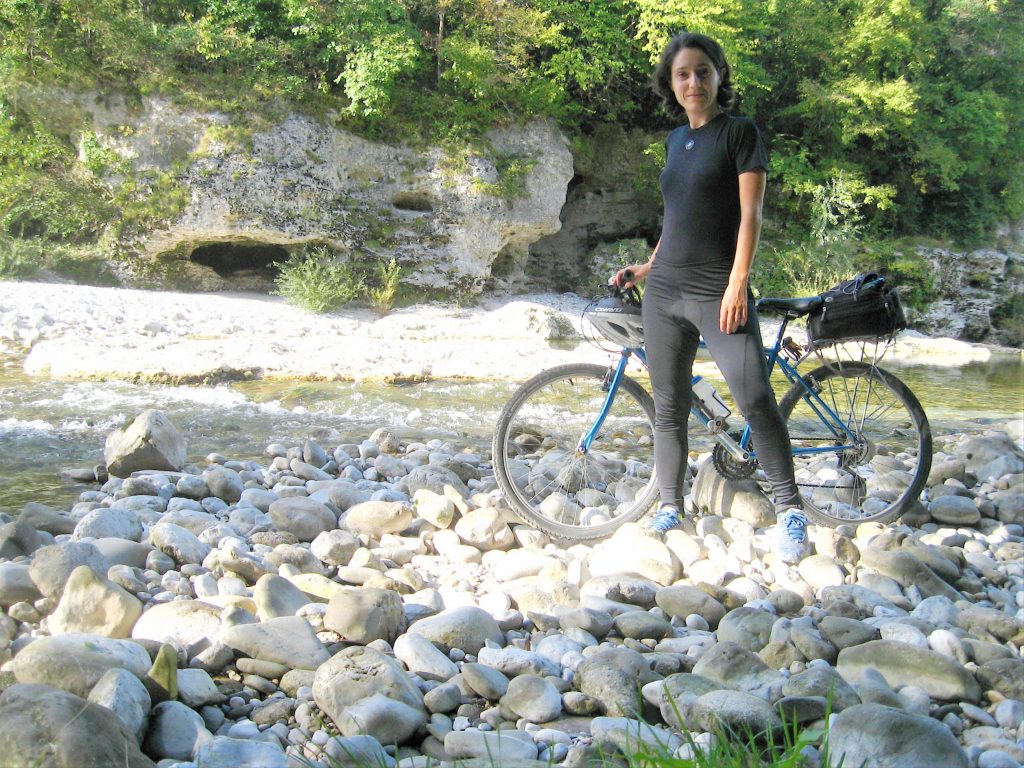
Last Sunday I spent all day touring by bike. I took the train, I reached the town of Cormons, and I routed to the town of San Pietro al Natisone, where a chestnuts fair was in planning.
I had lunch at midway, in Cividale.
After some tea and some rest, I was ready to push the pedal again.

In the afternoon I had to study my map.
The street I expected to use was blocked, due to a local motorbike race.
I tried to reach the limit point, hoping for the race to be finished, but they told me: “motorbikes will continue all day long”.

My route was crossing an area impossible to reach… I was tempted to show my anger to the policeman.
But I managed to keep quiet.
It had to be possible to find another way.

So, I started to explore the surroundings.
There was a tiny lane, just behind the house, that seemed to head for a backyard…
A small wooden signal appeared: “To Purgesimo, 1 mile”.
Great: this was my direction.
Dear cars, if the street is forbidden for you to pass, this doesn’t mean that for us, bike runners, there are no alternatives!

The most beautiful part of my tour started there.
A red pathway between the fields. The beauty of the river, along the side. A sunny sky with yummy clouds.
I spotted a layer of acorns under my wheels; some purple flowers of the specie “aster dumosus”; the dotted decoration on the body of a fleeting snake; two white horses running in the wood, and the sound of water stream audible only by me, cycling alone. Plenty of fruit types where shown at the chestnut fair. I headed back home, with four different chestnut packs, ready for a tasting exercise.

Tips to square a quilt

improv process, techniques

Sometimes people say that engineers have a squared mind (intended as: they are not really flexible, because their mind is closed inside a squared box…).

Well, since I’m an engineer, I like to think of methods for making nice squares. So, I tried different ways to square up my quilts, especially when they are big. I share my process here.

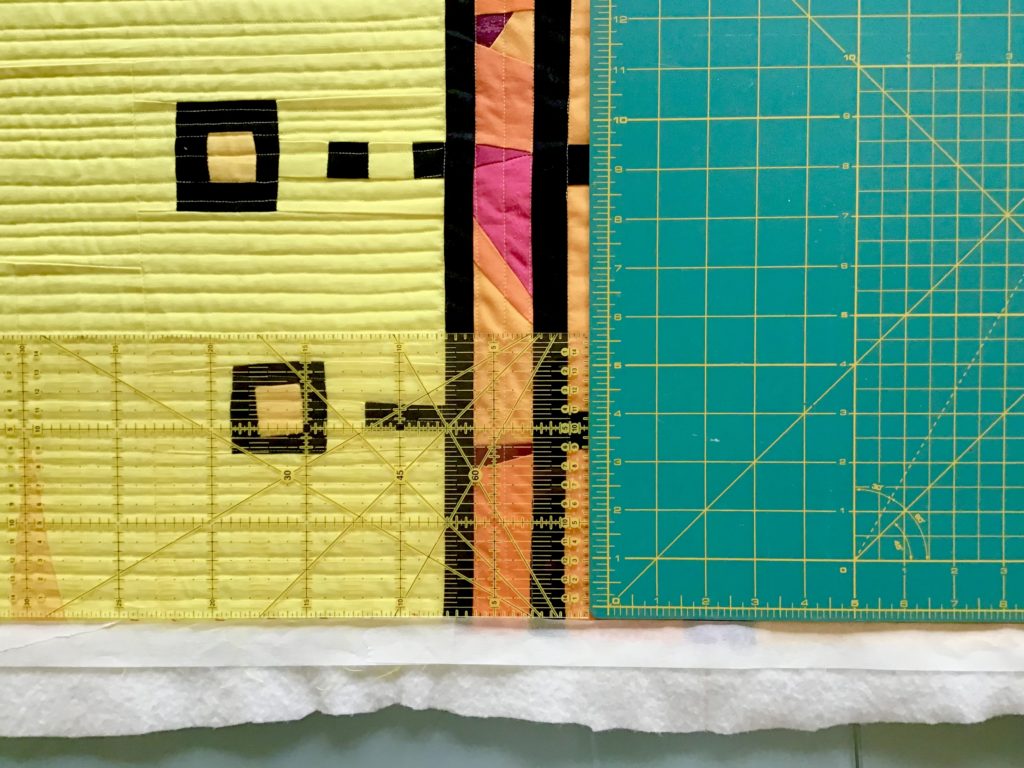
When my quilt is finished, I don’t use any marker to define its contour, nor I cut excess material. Both methods are irreversible. On the contrary, I define the edges with masking tape.

My references can be straight lines in the piecing or in the quilting: thanks to them, I line up the ruler (which is transparent, and can be aligned with such references), and the cutting mat just after the ruler (since the ruler length usually is not sufficient), to simulate the position of the edge. Looking at such guide, I will cover excess material with a line of masking tape.

The corner of the cutting mat indicates the 90 degrees angle, so I can proceed in this way for the next side, completing all the four sides.

After having masked all excess material, I can look at the simulated quilt contour, and I can adjust it, based on the following needs: do I want to exclude or to include some other peripheral elements of the picture? Are the opposite sides really parallel to each other?  To check parallelism, I measure the length of opposite sides. Usually corrections up to one inch are still needed in this phase… and I appreciate having the possibility to change my masking tape position.

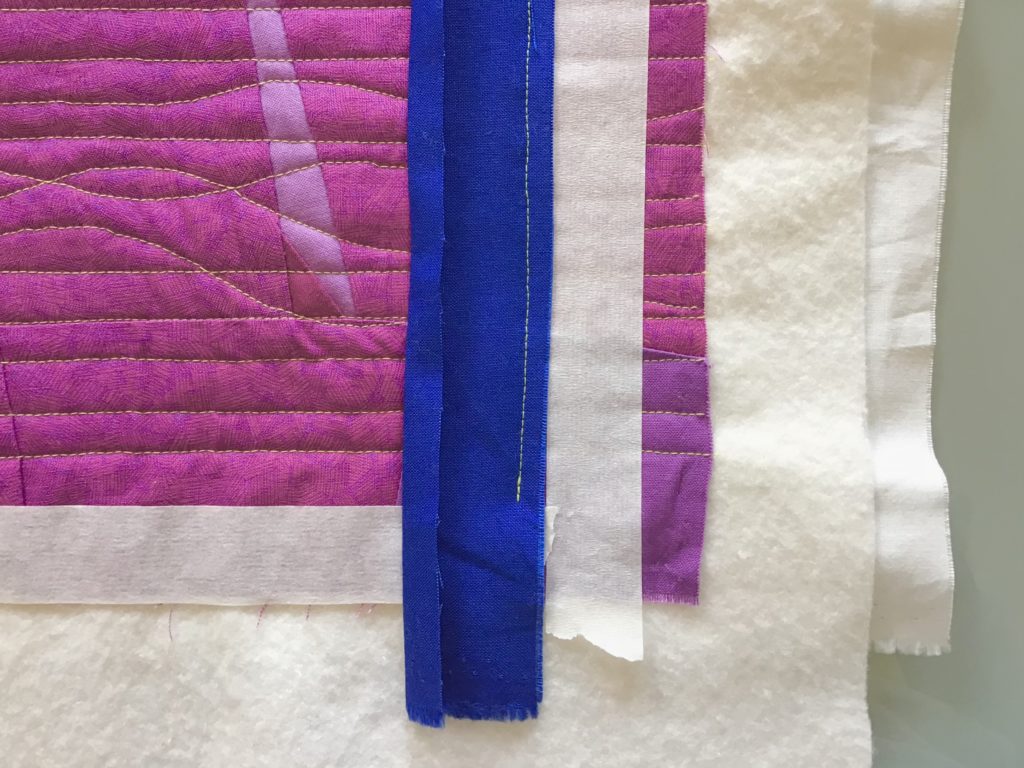
When I’m satisfied of the contour placement, I start the facing procedure.
I love Audrey’s tutorial on cottonandbourbon web site: from the first time I’ve tried it, I’ve never left it anymore. Still, I apply it, but with a small difference: I don’t cut the excess fabric before starting the facing. I think it’s better to sew on a wide, flat area (all material of same thickness still existing on both sides of the walking foot), rather than sewing quite near to an edge (which creates a step). So, I first complete all the machine sewing operations on each couple of parallel sides (up to step 8, and later, up to step 10 of Audrey’s tutorial). Then, I cut and press.
Final hand sewing of such a clear quilt back becomes a piece of cake!

The secret lives of fabric pieces

improv process

I tried again the composition technique named “dancing with the wall”, learnt during a course with Irene Roderick.

To me, this has clearly the effect pf prompting visions.

I started with some leftovers from previous works, and soon I saw a Liberty style décor.

I added some colours to the curves, and quickly I had the impression of seeing two persons looking to each other, ready to start to dance together. Or maybe it was only a single woman body, imprinted in blue onto the canvas, like during the performances of the painter Yves Klein?

I almost decided for the title “A tango with Klein”, when I rotated a bit the pieces… and suddenly a sea appeared, with people swimming among golden waves in the sunset.

Final version of my work resulted different again, but I wonder where the earlier visions have gone now: are they embedded in the quilt as multi-layer meanings, or they rather have taken an independent imaginary life of their own?

Use all the tiny bits!

improv process, techniques

I save all the smallest scraps from my quilting work. Half an inch is enough for me.

I’ve made sample textures with this starting material: column and row grids, log cabins… In my first video talk about improv I show some of them.

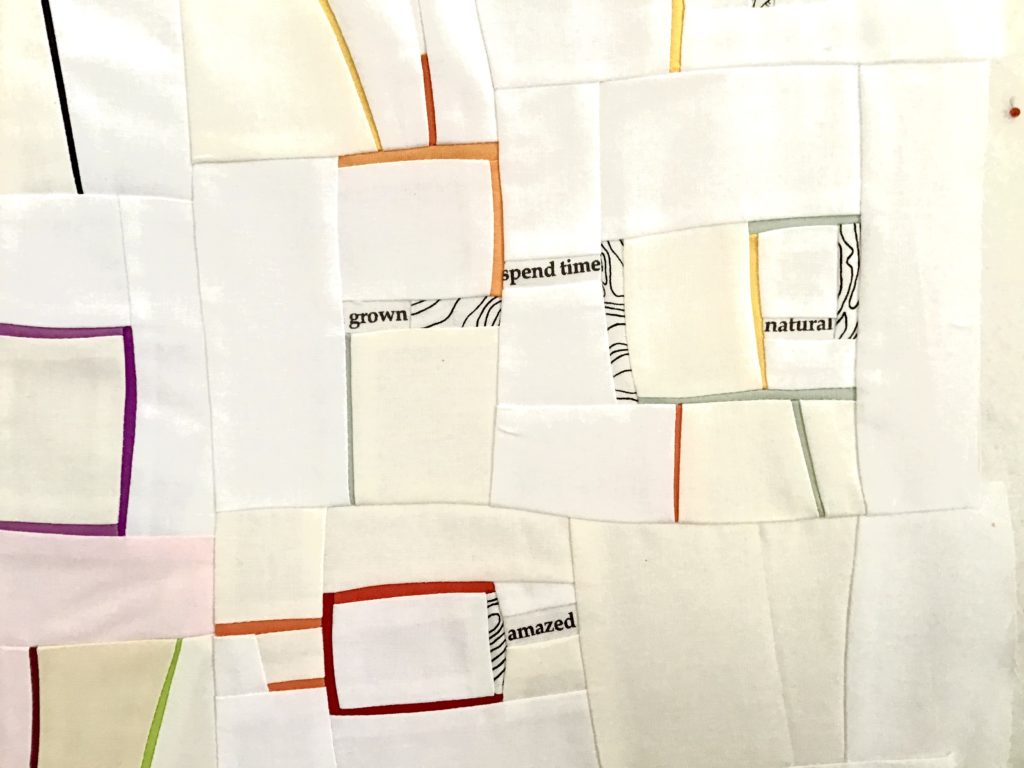
I recently took out this starting material. I noticed that the yellow and the purple patches had some colours in common. Good starting point to join them with a few transition lines!

It was a nice occasion to experiment with walking foot channel quilting, having needle positioned at variable distances.

When I had almost completed my work, I changed my mind: no more landscape rectangular orientation, but rather a square with a twist. It felt like adjusting the composition with a move of the photo camera… a cropping zoom. A good occasion to face fear of cutting an already made work… and to feel it can improve.

Good that mini quilts are completed in short time. I gave it the title “transition”: like the two starting blocks that blended, in a transition from purple to yellow with different piecing shape.

Quilting marathon colored as a blue sky

activism, collaborations, improv process

I’m happy to announce the start of a social sewing initiative, launched by local quilt shop Patchworkvictim, dedicated to the women and aimed to create a king size charity quilt.

We’ve been talking in the background of this project for several months, and now it’s ready to start. Quite on purpose, the initiative connects two dates, as the start and the finish of a quilting marathon, that are: November 25th 2020, International Day for the Elimination of Violence against Women, and March 8th 2021, International Women’s Day. Since my experience of some years ago, when I worked in my city council as a member of gender diversity and equal opportunities committee, I care that not just a single day is used as a celebration for such important themes, but a continuous practice is adopted, together, collaboratively. The charity recipient of this initiative will be a very effective working group: the local centre for protection of women from violence, G.O.A.P., a team well equipped to act both on the cultural change and on the practical needs.

So, here we are! The initiative calls for quilters that contribute by sewing one (or more) squares having 10 inch size each, up to a total of 132 squares. All those pieces shall be made using the technique I love most: improv piecing! I’m so happy to contribute to this project with local discussions on improv, and in the final sewing phase of more than one hundred pieces into a unique quilt top!

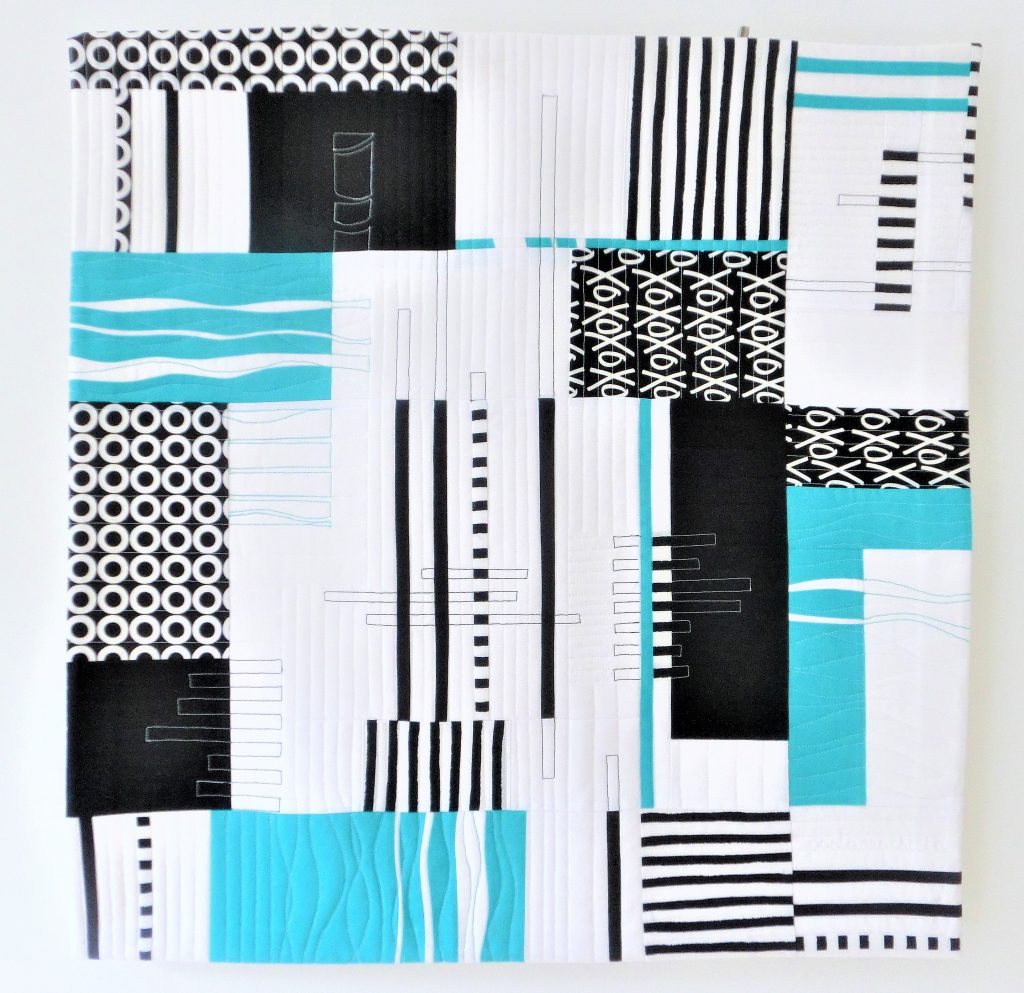
Improv can be defined in several ways, but in this occasion its main feature will be: composition! Indeed, participants are invited to experiment with minimalist composition improvisationally done, within own 10” square block. Isn’t it a nice challenge? To try graphic effects with the smallest possible number of elements? Minimalist composition can be both difficult and very simple: how to find elegance with tiny piecing and a wide negative space? There is a lot of room of expression with abstract mark making!

The rules to keep a uniform approach within the overall quilt are simple: use solid background, and choose light blue and white colours. Our quilting marathon looks forward to an arrival into the fresh air of new year Spring, and our community quilt can talk the language of clear white clouds running in a light blue sky!

If you wish to participate, all that is needed is to book your participation writing to info@patchworkvictim.it ; on Patchworkvictim blog all the details of the initiative are presented, including address for block shipment, key dates and initiative contributors.
I’ve already started to make a few improv blocks… come and sew with me!

Grass and wheat

improv process

I’ve completed my second quilt realized with the technique named “Wall Dance”, which I learnt studying with Irene Roderick.

I’ve tried to mix the lessons learnt about composition (to be tested by free remix on the design wall), with my habit of growing textures in a continuum, without interruptions.  

I’ve started this work in Summer, before the “Tagliamento king of rivers” exhibit arrangement, and at that time I was thinking: “Why not to include this work in the gallery?”. Too optimistic: I completed this quilt two months after the end of exhibition.

In September I restarted my collaboration with the local quilt shop. During the lecture I gave with them, on finding beauty in abstraction while doing improv (and managing chaos!), I was sewing yellow and green pieces “live”: the fabric which took part of this discussion, later entered into the quilt.

I chose the title: “Grasshopper path”. I imagine being small and jumping across wheat fields, leaving trace of route taken, as indicated by the arrows.

Yesterday I placed the finished quilt on the wall of my living room. My child observed the result, and proposed the following way to compose a quilt: “Take your small pieces of fabric, let them fall on the ground, and sew them in the position they have taken on the floor!”

Names for a texture

improv process, joining events

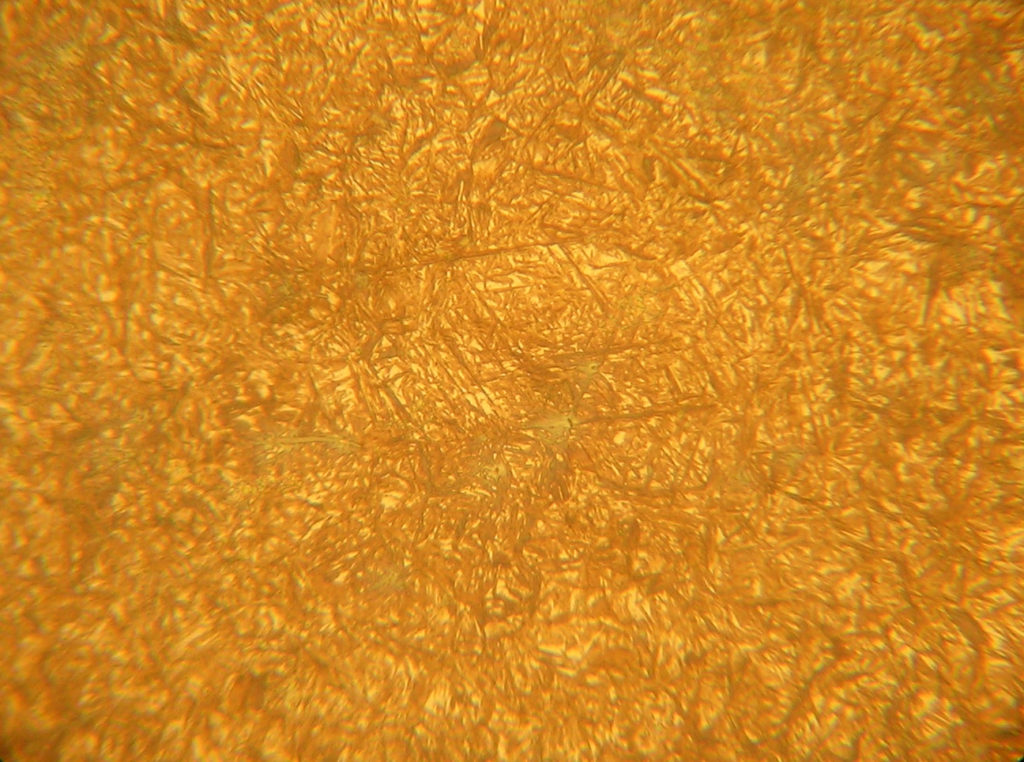
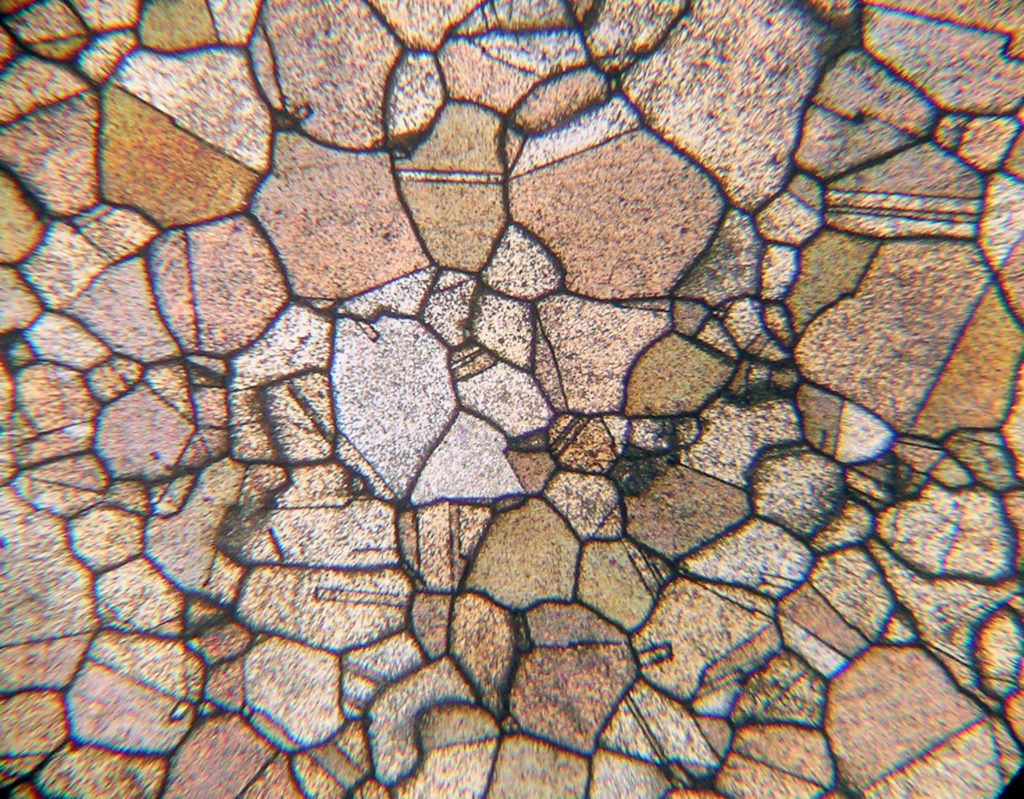
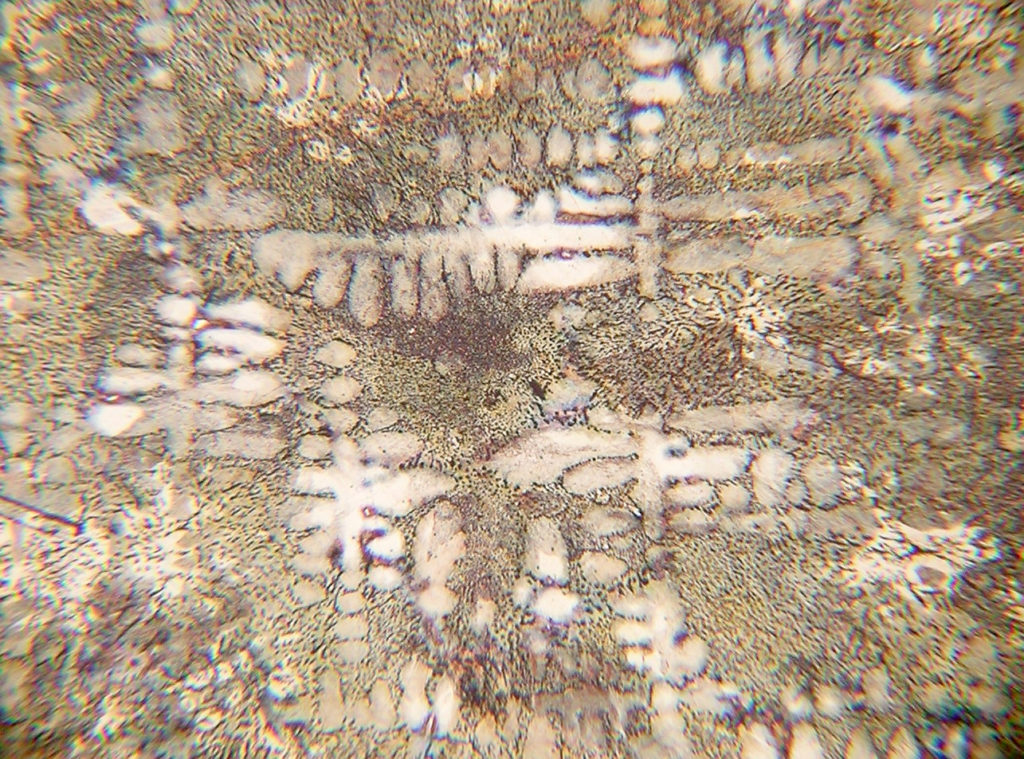
I like to explore the terms to be adopted when describing textures, the ones obtained by patchwork piecing. I’m tempted to borrow words that I use when I describe materials observed at the microscope.
A random texture could be an “isotropic” pattern. This means that you can see similar shapes, whatever direction you look them from. To make some examples: a bubble foam may be isotropic; a wood plate resulting from a longitudinal cut is not isotropic, being oriented in the branch growth direction.

I will talk about this in my next zoom video lecture, on Thursday September 24th at 17.30 CEST (Italian language), thanks to local quilt shop hosting the event. A good occasion to discuss on the fact that, even if improv piecing seems chaotic, there is still some reasoning behind!
For attendance, you can subscribe to Patchworkvictim mailing list, and you will receive free invitation link!

Overall video series can be found at this link.

Degrees of freedom getting large

improv process

It was two months that I’ve been waiting for the “Quick Steps” live course by Irene Roderick to come. I was so impatient that I started to count the days remaining to the starting date!

I’ve now completed the attendance. The experience has been up to expectations.

Trying her methodology, named “dancing with the wall”, meant for me to go out of comfort zone. I left behind, for a while, my usual boundaries (to repeat the same shape all around the quilt; to fix the position of figures by sewing blocks step by step). This resulted in an opening of possibilities, if not an exploding of variables!

This method clearly results in a continuous design exercise. Each change brings a surprise (which may be addictive…), each view suggests new ideas…

While doing my first try, I visualized: a sea, a gondola in Venice, a summer festival poster, a gun (no no no… I had to change this!), a horse looking a dog, a family crest, a paper collage, a Liberty style decor…

I experienced getting stuck, tearing it all down, restarting work from scratch. The brain was steaming for the effort of approaching multiple graphic problems: every time, a new balance was required…

After this “dance”, I’ll look to my way of working from a different perspective.